A cracked screen on your iPad 10th generation can feel like a major setback, but repairing it yourself with a kit is a real possibility. This guide will walk you through exactly how to repair iPad 10 gen screen with kit, from the initial decision to the final test. It is crucial to understand upfront that this is a high-risk repair on a very fragile device. Success hinges entirely on patience, the right tools, and following a meticulous process, with the permanent loss of Face ID being the most significant potential consequence if a tiny cable is damaged.
Before You Start the Repair
Jumping straight into the repair is the most common mistake. This section is your reality check, designed to help you decide if this DIY project is the right path for you. It is about understanding what you are getting into before you heat up your first tool.
Understanding the iPad 10 Screen Assembly
The screen on your iPad 10 is not just a piece of glass. It is a fused assembly, often called a LCD screen replacement or digitizer. This means the touch-sensitive glass digitizer layer is permanently laminated to the LCD display underneath. When you buy a repair kit, you are replacing this entire fused unit. You cannot replace just the outer glass on this model without highly specialized equipment.
The Permanent Risks of a DIY Repair
The iPad 10’s design integrates critical features directly into the screen assembly. Several fragile ribbon cables connect the screen to the motherboard. The most sensitive of these is for the Face ID system, which includes the TrueDepth camera. If this tiny flex cable is torn or damaged during the repair, Face ID will be permanently disabled. Apple cannot repair this component alone; the entire iPad would need replacement. Similarly, the cable for the front camera is delicate, and functionality like True Tone display calibration is often lost with third-party screens.
Professional Repair vs. DIY Comparison
| Aspect | Professional Repair (Apple/Authorized) | DIY Repair with Kit |
|---|---|---|
| Cost | Higher fixed cost. | Lower initial cost for parts. |
| Warranty | Comes with a service warranty. | Voids any remaining Apple warranty. |
| Risk | Virtually none; they guarantee functionality. | High risk of permanent damage to Face ID, cameras, or the device itself. |
| Outcome | Original or Apple-certified parts, with True Tone and full functionality preserved. | Quality varies; True Tone is usually lost; success depends entirely on your skill. |
| Time | Usually a few hours to a couple of days. | Several hours of focused, careful work. |
Final Self-Assessment Checklist
Before ordering a kit, be honest with yourself. You need a steady hand, immense patience, and experience with small electronics repairs is a major plus. You must be comfortable following detailed instructions and handling components that feel unforgivingly delicate. If you get frustrated easily or have never opened a device before, the professional route is strongly recommended to avoid a costly mistake.
Tools and Kit Essentials
Not all repair kits are created equal. This section breaks down what you should have, why each tool matters, and how to spot a good kit from a bad one, moving beyond any single product listing.
What Comes in a Standard Kit
A typical screen replacement kit for the iPad 10 will include a prying tool, plastic spudgers, a suction cup, a set of precision screwdrivers (like P2 Penta-lobe and Phillips), and the new screen assembly itself. Some better kits may include a magnetic project mat to organize screws and a fresh adhesive strip or pre-cut adhesive to reseal the device.
The Function of Each Tool
Understanding your tools is key. The prying tool, usually a thin metal or plastic pick, is for carefully separating the plastic clips that hold the screen to the iPad’s frame after the adhesive is loosened. The spudger, a non-conductive plastic tool, is for gently disconnecting ribbon cable connectors from the motherboard. The suction cup provides initial grip to lift the screen after heating. The screwdrivers are for removing the few but critical screws that secure the screen assembly and internal brackets.
Improvised Alternatives for Missing Tools
If your kit is missing an item, you can sometimes improvise safely. A thin, stiff guitar pick or a plastic playing card can work as a prying tool in some situations, though a dedicated tool is better. Never use a metal knife or screwdriver to pry, as it will damage the casing and likely puncture the LCD. For organization, a simple ice cube tray or small bowls can substitute for a magnetic mat.
Evaluating Screen Kit Quality
When purchasing a kit, read reviews carefully. Look for comments about screen brightness, color accuracy, and touch responsiveness. Descriptions mentioning “HD quality” or “original compatibility” are common, but user reviews and high-resolution product photos showing the included flex cables are more reliable. Kits sold by reputable sellers on Amazon or specialized repair parts websites tend to have more consistent quality than the cheapest option available.
Preparing Your iPad and Workspace
A successful repair happens long before the first screw is removed. Proper preparation prevents catastrophic data loss and keeps tiny, essential parts from getting lost.
Data Backup and Shutdown Procedure
Always assume something could go wrong. Perform a full backup of your iPad to iCloud or your computer. Once backed up, power the iPad down completely. Do not attempt this repair with the device powered on, as you risk causing a short circuit when disconnecting the battery.
Creating an Optimal Workspace
Find a clean, well-lit, and static-free area to work. A large, clear table is ideal. Avoid carpets which generate static electricity. Good lighting is non-negotiable for seeing the tiny screws and connectors. Have a small container or magnetic mat ready to organize screws in the order you remove them, noting their positions. This is the best way to ensure every screw goes back in its correct place.
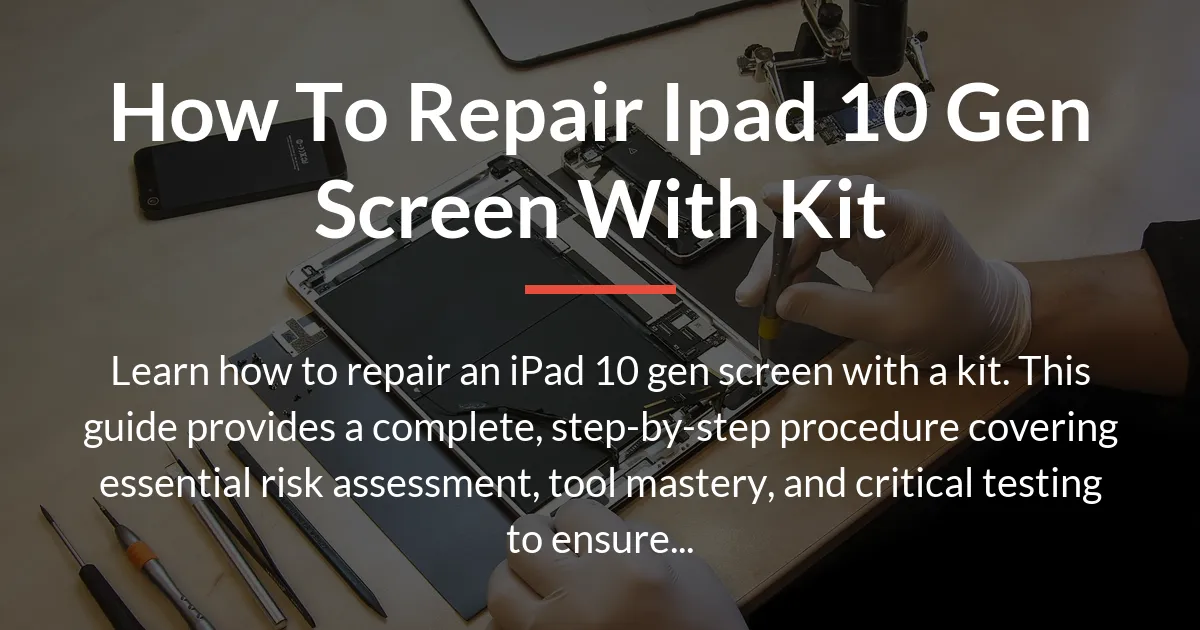
How to Repair iPad 10 Gen Screen with Kit
This is the core procedure. The most critical safety rule is to disconnect the battery before touching any other internal component. This prevents accidental shorts that can damage the motherboard. It is highly recommended to watch a detailed video guide alongside these written steps to visualize the process.
- Applying Heat and Initial Opening: Use a hair dryer or a heat gun on a low setting to warm the edges of the iPad screen. This softens the adhesive holding it to the frame. Apply the suction cup firmly near the bottom edge and pull gently while using your prying tool to carefully separate the plastic clips along the side. Work slowly around the perimeter.
- Disconnecting the Battery: Once you can prop the screen open like a book, this is your first and most important internal step. Locate the battery connector on the motherboard—it’s a wide, flat cable. Use your spudger to gently flip up the small bracket securing it, then lift the connector straight off. This eliminates power to the device.
- Removing the Screen Assembly: With the battery disconnected, you can now safely unplug the several flex cables connecting the old screen to the motherboard. There will be cables for the display, digitizer, and front camera array. Each has a small bracket; lift these with the spudger before lifting the cables. Once all are free, you can lift the entire cracked screen assembly away.
- Transferring Critical Components: Your new screen likely does not come with the home button or the front camera module. You must carefully remove these from the old screen assembly and install them into the identical slots on the new screen. Handle them only by their edges and be extremely gentle with their ribbon cables.
- Installing the New Screen: Before securing anything, carefully reconnect all the flex cables from the new screen to the motherboard. Ensure each connector is seated perfectly straight and snap the retaining brackets closed. Do not force anything.
- Reconnecting Cables and Battery: After all screen cables are connected, the final step is to reconnect the battery cable. Push it firmly into place and secure its bracket. You can now test the device before sealing it.
Testing and Calibration After Installation
Do not seal the iPad shut immediately. This testing phase is your only chance to catch and fix a connection issue without having to reopen the device.
Pre-Reassembly Functional Test
With the screen lifted but all cables connected, carefully press the power button. If the battery was properly reconnected, the iPad should turn on. Test every single function: touch all areas of the screen, check display colors and look for lines, test the volume and power buttons, try the front and rear cameras, and check the speakers. Only if everything works perfectly should you proceed.
Understanding True Tone and Color Calibration
The True Tone feature, which adjusts screen color based on ambient light, is tied to the original screen through software calibration. With a third-party screen, this feature will be unavailable. Some high-end replacement screens may include a small chip to mimic it, but it will not be the same as the factory original. Do not assume a screen is defective if True Tone is missing or colors look slightly different.
Final Reassembly and Seal
Once testing is complete, power down the iPad again. Carefully lay the screen back into the frame, ensuring all clips align. If your kit included new adhesive, apply it now to the frame. If not, the existing adhesive may have some life left if you heated it gently, but the seal will not be as strong. Apply even pressure around all edges to snap the clips back into place and create a good seal.
Common Problems and Troubleshooting
Even with care, you might hit a snag. Here’s how to address common issues without causing further damage.
Screen Won’t Lift After Heating
If the suction cup cannot get a grip or the screen won’t budge, apply more heat. The adhesive is likely still too strong. Focus the heat along the edges and try again. Be patient; prying too hard will crack the display or damage the frame.
A Flex Cable Feels Stuck
Never pull a ribbon cable by its wire. If a connector won’t release, double-check that you have fully lifted its retaining bracket. Use the tip of your spudger to gently nudge the connector itself from the side. Applying isopropyl alcohol with a cotton swab can sometimes loosen stubborn adhesive, but ensure the device is off and the battery is disconnected.
Screen Has Lines or No Image After Installation
This almost always indicates a poorly seated flex cable. Power down, disconnect the battery, and then reseat the display and digitizer cables. Ensure they are perfectly straight and the brackets are fully closed. A completely black screen with a faint backlight suggests a damaged display cable or screen.
Face ID or Front Camera Not Working
If Face ID or the front camera fails after repair, you have likely damaged their incredibly delicate flex cable during the transfer from the old screen. This damage is almost always permanent and cannot be fixed by reseating the cable. The functionality is lost unless you can source and install an entirely new TrueDepth camera module, which is a prohibitively difficult and expensive repair.
Frequently Asked Questions
Can I replace just the glass on an iPad 10th gen screen?
No, you cannot. The glass digitizer and LCD display are permanently fused together. Replacing just the glass requires industrial-grade laminating equipment and is not feasible for a DIY repair. You must replace the entire screen assembly.
How long does an iPad 10 screen repair usually take?
For a first-timer following a guide carefully, expect the process to take between 2 to 4 hours. Rushing is the enemy and will likely lead to mistakes. An experienced person might complete it in about an hour.
Will this repair void my remaining Apple warranty?
Yes, opening your iPad and performing a self-repair will void any remaining Apple warranty or AppleCare+ coverage. Apple will not provide service for a device they detect has been opened by a non-authorized technician.
My replacement screen feels less bright or has different colors. Is it defective?
Not necessarily. Third-party screens often have different brightness and color calibration than the original Apple screen. It is common for them to be slightly dimmer or have a different color temperature. True Tone functionality will also be absent, which changes how colors look.
The repair kit didn’t include adhesive. What should I use?
You can purchase pre-cut adhesive frames specifically for the iPad 10 from electronics repair websites. Alternatively, a very thin bead of strong, flexible adhesive like B-7000 glue applied sparingly to the frame can work, but be careful to avoid any interior components.
Can I reuse the original home button or front camera module?
Yes, you must reuse them. These components are paired to your specific iPad’s motherboard. The new screen assembly will not come with them, and generic replacements will not work for the home button’s Touch ID function.
A small plastic clip broke during disassembly. Is my iPad ruined?
Probably not. A single broken clip might mean the screen does not sit perfectly flush in that spot, but the adhesive and other clips will usually hold it securely. Avoid putting pressure on that area. The iPad should still be functional.
Where is the best place to buy a reliable iPad 10th gen screen kit?
Reputable sellers on Amazon or specialized independent repair parts websites like iFixit are the best sources. Look for kits with many positive reviews that specifically mention good screen quality and complete tool sets.
After repair, my touch sensitivity seems off near the edges. Why?
This can happen if the screen is not seated perfectly flat or if there is slight pressure on the edges from a misaligned frame or adhesive. It could also indicate a lower-quality digitizer in the replacement screen.
Is True Tone functionality possible with a third-party screen?
Generally, no. True Tone is calibrated to the original screen at the factory. Some premium aftermarket screens include a chip to mimic the feature, but it is a software approximation and will not perform identically to the Apple system.
Learning how to repair iPad 10 gen screen with kit is a significant undertaking that blends technical skill with careful patience. This guide has taken you from the initial risk assessment through tool preparation, the detailed procedure, and crucial post-repair testing. By respecting the device’s fragility and following each step methodically, you can successfully restore your iPad to working order. Remember, the true accomplishment lies not just in a fixed screen, but in the meticulous process you followed to get there.