Getting your Android to use an SD card might seem like a simple task, but there is a crucial choice you need to make first. This choice defines how your phone interacts with the card and what you can do with your data.
The process isn’t one single set of instructions. Instead, it’s about picking the right path for your needs and then following the correct steps. This guide will walk you through that decision, the preparation, and the setup while explaining the long-term effects of your choice.
The Two Ways Your Android Uses an SD Card
Your Android phone offers two fundamentally different methods for using an SD card. Understanding this difference is the most important step before you do anything else.
One method treats the card like a removable flash drive, while the other makes it a permanent part of your phone’s system. The table below shows the core difference at a glance.
| Portable Storage | Internal Storage (Adoptable) |
|---|---|
| The default and most common method. | A deeper integration for expanding app space. |
| Acts like a removable USB drive for your files. | Encrypts and merges the card with your phone’s system. |
| Perfect for photos, videos, music, and documents. | Used primarily for installing apps and their data. |
| You can pop the card out and read it on other devices. | The card is locked to your specific phone. |
What Portable Storage Really Means
When you set up your SD card as portable storage, you are telling your Android to treat it as a separate, removable volume. Think of it like an external hard drive for your computer.
You have full control to move files on and off it using a file manager app. The card remains independent, so you can remove it, put it in an adapter, and plug it into your laptop or another phone to access your photos and videos directly.
This method does not help with installing new apps. Your phone’s internal storage is still where all apps and their core data will live. Portable storage is simply for your personal media files.
What Adoptable Storage Really Does
Choosing the internal or adoptable storage option is a more significant commitment. This process reformats and encrypts the SD card specifically for your Android device.
Your phone’s operating system then sees the card as an extension of its own built-in memory. The goal here is to alleviate the “internal storage full” error by allowing you to install apps directly to the SD card.
However, it comes with major trade-offs. The encryption means the card becomes useless in any other device unless you reformat it again, which erases everything. Also, the phone and the card become dependent on each other for normal operation.
A Critical Warning About Performance and Lifespan
This is a detail most guides overlook. Using an SD card as internal storage can impact your phone’s speed and the card’s longevity. Your phone’s built-in high flash memory is designed for constant, rapid reading and writing of small files, which is what apps do.
Most SD cards, even fast ones, are optimized for large sequential file transfers like videos. Using them for the random, constant access of app data can lead to noticeable slowdowns. Furthermore, this heavy usage cycle can wear out the card’s memory cells faster than typical portable storage use.
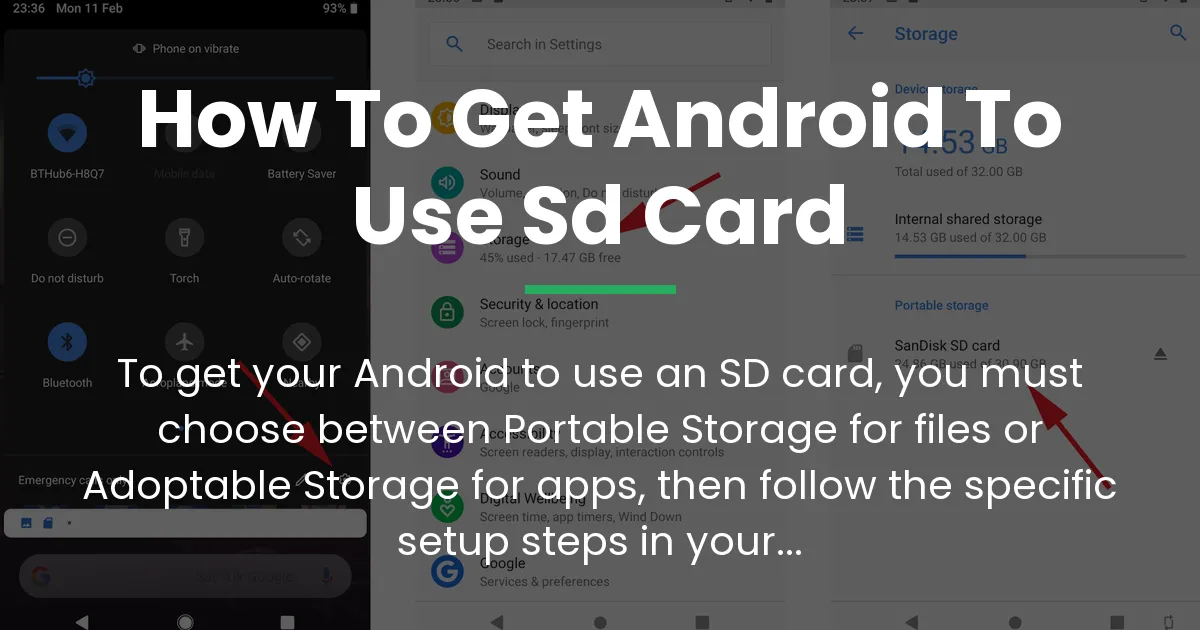
Checking Your Phone and SD Card First
Before you get excited and start formatting, you need to do a quick check. Not all Android phones support the adoptable storage feature, and not all SD cards are suitable for the job.
This preparatory step can save you a lot of confusion and frustration later. It ensures your device and your card are ready for the path you want to choose.
See If Your Android Supports Adoptable Storage
Many phone manufacturers, especially Samsung, often remove the adoptable storage option from their software. To check if your phone has it, simply insert your SD card.
You should get a notification saying “SD Card Detected.” Tap on it. Alternatively, go to your phone’s Settings, then find the “Storage” section. Look for your SD card listed there and tap on it.
If you see an option that says “Format as internal” or “Use as internal storage,” then your device supports it. If you only see “Format as portable” or similar, then your phone only allows portable storage mode.
Picking the Right SD Card for the Job
Not all SD cards are created equal. For portable storage, almost any card will work for holding photos. But for a good experience, especially with adoptable storage, speed matters more than just size.
Look for cards with a higher speed class. A Class 10, UHS-I, or U3 rating is a good minimum. These cards have faster write speeds, which helps with saving photos quickly and is essential if you use the card for apps. A slow card will make everything feel sluggish.
Also, inspect the card. Gently clean the metal contacts with a dry cloth and make sure it clicks properly into the tray. If your phone doesn’t recognize a brand new card, try restarting the phone with the card inserted.
How to Set Up an SD Card as Portable Storage
This is the straightforward process for most users. If you just want to store pictures, videos, and downloads, follow these steps to get your Android to use the SD card for files.
The system will guide you through it when you insert the card. Remember, formatting will erase everything already on the card, so back up any important data first.
- Insert the SD card into your Android phone’s tray or slot.
- Look for the “SD Card Detected” notification that appears and tap on it. If you miss it, open Settings, go to “Storage,” and select the SD card.
- You will be asked how you want to use the SD card. Select “Portable Storage” or “Use as portable storage.”
- Tap “Format” or “Next.” Your phone will warn you that this will erase all data on the card. Confirm to proceed.
- Once the formatting is complete, your SD card is ready. You can now start moving files to it.
Moving Your Files to the Portable SD Card
After setup, your phone won’t automatically move your existing photos. You need to do that yourself. The easiest way is to use the built-in “Files by Google” app or your phone’s own “My Files” app.
Open the app, navigate to your internal storage, find folders like “DCIM” (for photos) or “Download,” and select the files. Then, use the “Move” or “Copy” option to transfer them to the SD card location.
You can also change the default save location in specific apps. For example, open your Camera app, go to its settings, and look for “Storage location” to switch it to the SD card. This ensures all new photos and videos are saved directly there.
How to Configure Adoptable Storage on Android
If your phone supports it and you understand the trade-offs, this is how you get your Android to use the SD card as internal storage. This process is irreversible without erasing the card.
It encrypts the card for use only with your specific device. Proceed only if you are sure this is the solution you need for app storage space.
- Insert the SD card and tap the setup notification, or go to Settings > Storage and select the card.
- This time, choose the option that says “Internal storage” or “Format as internal.”
- Read the warning message carefully. It will explain that the card will be encrypted and unusable in other devices. Tap “Format” or “Erase & Format.”
- After formatting, your phone will ask if you want to “Move content” from your internal storage to the new space. You can choose “Move now” to transfer photos and files, or “Move later.”
- The phone will finalize the setup. Once done, your Android’s total available storage will appear larger, as it now includes the SD card capacity.
Managing Your Phone After the SD Card Is Setup
Your job isn’t over after the card is formatted. To truly solve storage issues, you need to manage where apps and their data live. This is where many users get stuck, even after following setup guides.
The system does not automatically move your existing apps to the new space. You have to do that manually, and even then, there are limits.
Moving Apps to the SD Card
Go to your phone’s Settings, then open “Apps” or “Applications.” Select any app you want to move. Tap on “Storage” within that app’s info page.
If the app developer allows it to be moved, you will see a “Change” button. Tap it and select your SD card from the list, then tap “Move.” The phone will transfer the app.
It is critical to know that many apps cannot be moved. System apps, keyboard apps, launchers, and apps with critical widgets or background services often lack this option. They must remain on your phone’s true internal storage.
The Reality of App Data and Cache
This is the hidden truth about adoptable storage. Even when you successfully move an app, it doesn’t move everything. A large portion of an app’s footprint is often its “cache” and some system data.
This residual internal storage usage means your main storage can still fill up over time. The moved app itself is on the SD card, but its temporary files and some core data might not be.
You can go into each app’s storage settings and tap “Clear Cache” to free up space, but this is a temporary fix. The cache will build up again as you use the app. This is why adoptable storage is not a perfect fix for a very small internal storage phone.
Fixing Common SD Card Problems
Sometimes, things don’t go smoothly. Your card might not be detected, or you might see errors. Here are solutions to the most frequent issues you might encounter.
SD Card Not Detected or Showing as Unsupported
If your phone doesn’t see the card at all, first try a physical reboot. Power your phone off, remove the SD card, gently clean the contacts, reinsert it, and turn the phone back on.
If it’s still not found, the card might be corrupted or in a format your phone doesn’t like. Try inserting it into a computer using a card reader. If the computer can read it, back up your files and then format the card on the computer to “FAT32” or “exFAT.” Then, put it back in your phone to set up.
An “Unsupported” error can also mean the card has physically failed. If it doesn’t work on a computer either, the card is likely dead and needs replacing.
Slow Phone Performance with an SD Card
If your phone feels slower after setting up an SD card, especially with adoptable storage, the card’s speed is probably the culprit. As mentioned, using a slow Class 4 card for apps will cause lag.
The only fix is to replace it with a faster card (UHS-I, Class 10, or U3). For adoptable storage, consider moving only less-critical, non-system apps to the card to minimize performance impact.
Reverting an Adoptable SD Card Back to Portable
If you want to undo the adoptable storage setup, you can, but it will erase the card. Go to Settings > Storage. Tap on your SD card.
Tap the menu (three dots) in the top right and select “Format as portable” or “Portable storage.” Confirm the action. This will completely wipe the card and return it to a normal, removable state you can use in other devices.
Frequently Asked Questions
Can I move any app to the SD card?
No, you cannot move any app to the SD card. Only apps whose developers have enabled the feature can be moved. Critical system apps, launchers, and services will always remain on your phone’s internal storage.
Will formatting my SD card as internal storage erase it?
Yes, formatting your SD card as internal storage will completely erase all data on it. You must back up any important photos or files from the card to a computer before starting the process.
Why can’t I find the “Format as Internal” option on my Android?
Many manufacturers, like Samsung, disable or remove the adoptable storage feature from their phones. If you don’t see the option, your phone only supports using an SD card as portable storage for files.
How do I transfer photos and videos to the SD card?
Open your gallery or file manager app, select the photos and videos, then use the “Move” or “Copy” function to transfer them to a folder on your SD card. You can also set your camera app to save new photos directly to the card in its settings.
Is it safe to remove an SD card formatted as internal storage?
No, it is not safe. Removing an SD card formatted as internal storage will cause apps and data on it to become unavailable, leading to crashes and errors. You should only remove it after turning off the phone.
Why is my phone slow after using an SD card for apps?
Your phone is likely slow because the SD card’s read/write speed is too low for running apps. Using a slow card for adoptable storage creates a performance bottleneck. A faster, high-speed class card is recommended for this use.
What does “SD card not supported” mean?
This error usually means the SD card is corrupted, formatted in an incompatible way, or has physically failed. Try formatting it on a computer first, or test it in another device to see if it is broken.
Can I use the same SD card for my Android phone and my camera?
Yes, but only if it is formatted as portable storage. An adoptable storage card is encrypted and locked to your phone. A portable storage card can be freely swapped between your phone, camera, and computer.
How do I check the health and speed of my SD card?
You can check the health by seeing if it reads reliably in multiple devices. To check the speed class, look at the physical card for symbols like “C10”, “U3”, or “V30”. These indicate minimum write speeds, with higher numbers being faster.
Can I revert my SD card from internal back to portable storage?
Yes, you can revert it, but the process will erase everything on the card. Go to your phone’s Storage settings, select the SD card, choose “Format as portable,” and confirm. This will wipe it clean for general use.
Final Thoughts on Using an SD Card
Successfully getting your Android to use an SD card hinges on making the right initial choice. For the vast majority of people, setting it up as portable storage is the best and safest option. It gives you flexible space for your media without the risks and limitations of encryption.
The adoptable storage path is a compromise for devices with extremely limited internal space. It can help install more apps, but you must accept the trade-offs in performance, portability, and reliability. Always use a high-quality, high-speed card if you go this route.
By understanding these two methods and their consequences, you can now confidently configure your SD card to truly meet your needs and manage your phone’s storage effectively for the long term.