Seeing a “disabled” message on your iPad can feel like a sudden lockout from your digital world. The frustration is real, but the situation is fixable.
This guide will walk you through the only official ways to regain access. The solution involves erasing your iPad, so data loss is likely unless you have a backup. We will cover every step clearly, from diagnosing your specific screen to restoring your data and preventing this from happening again.
The Only Way to Fix a Disabled iPad
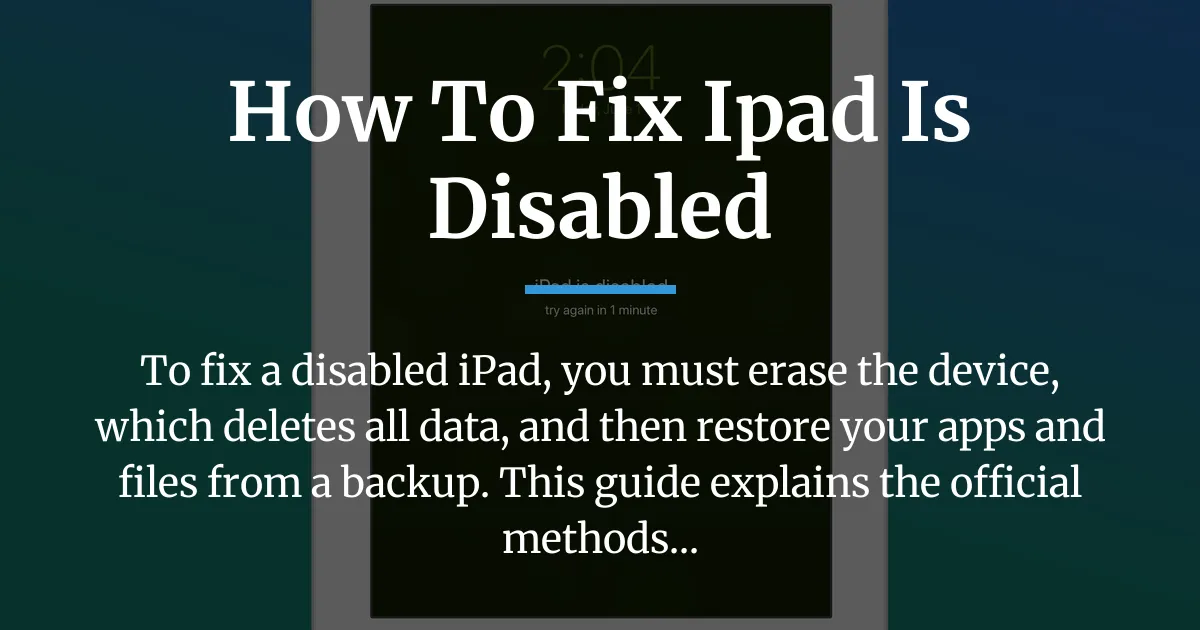
To fix a disabled iPad, you must erase the device, which deletes all data and settings, and then restore your content from a backup. This is Apple’s core security protocol for when a passcode is entered incorrectly too many times.
There are only two official paths to do this. You can use a computer with iTunes or Finder, or if you see the option, use the “Erase iPad” feature directly on the device itself. Your first step is to determine which path is available to you based on the message on your screen.
Why Your iPad is Disabled in the First Place
Your iPad is disabled for one primary reason: security. After multiple incorrect passcode entries, Apple’s system locks the device to protect your personal information from anyone who might have found or stolen it.
This is not a glitch but a designed feature. Think of it as a vault locking itself after too many wrong combinations. The number of attempts allowed varies, but the end result is the same—a disabled iPad that requires a more drastic measure to unlock.
The Two Different Disabled Screens
Understanding which screen you see is crucial because it determines your next move. There are two main variations of the disabled message.
The classic and most common screen says “iPad is disabled connect to iTunes.” This means you must use a computer to fix it. The other, newer screen appears on some iPads and includes an “Erase iPad” option at the bottom. This gives you a choice to erase without a computer, but it has specific requirements.
Choosing Your Fix: Computer or Erase iPad Option
Before you act, take a moment to assess your situation. Your choice depends on the tools you have available and the message on your iPad’s screen. This quick decision matrix will point you in the right direction.
Do you have access to a Windows PC or a Mac that you have possibly synced with before? If yes, the computer method will always work. Do you see the “Erase iPad” button on your disabled screen? If yes, and you remember your Apple ID password, you can use the on-device method. Your choice will guide you to the correct set of instructions below.
Fix Method 1: Using a Computer with iTunes or Finder
This is the universal solution. If your iPad shows “connect to iTunes” or if the on-device erase option does not appear, you will need a computer. The process involves putting your iPad into Recovery Mode and using iTunes on Windows or Finder on a Mac to restore its software.
What You Need Before You Start
First, find a computer you trust. It can be a Windows PC or a Mac. If you are on a Windows PC, make sure you have the latest version of iTunes installed from apple.com. On a modern Mac, you will use the Finder app instead of iTunes.
You also need the cable that came with your iPad to connect it to the computer. If you have backed up your iPad to this computer or to iCloud, you will be able to recover your data after the erase. If you have never backed up, please proceed with the understanding that all personal data will be lost.
Step-by-Step Recovery Mode Process
Recovery Mode is a special state that allows your computer to restore the iPad’s software even when it is locked. The button sequence to enter it depends on your iPad model.
For iPads with a Home Button: Press and hold the Top (or Side) button and the Home button at the same time. Keep holding them even when you see the Apple logo. Only let go when you see the recovery mode screen showing a cable pointing to a computer icon.
For iPads without a Home Button: Quickly press and release the Volume Up button, then quickly press and release the Volume Down button. Immediately after, press and hold the Top button. Keep holding it through the Apple logo until the recovery mode screen appears.
Using iTunes or Finder to Restore
Once your iPad is in Recovery Mode, connect it to your computer. iTunes or Finder should detect a device in recovery and show a pop-up window.
This window is critical. It will give you two choices: “Restore” or “Update.” You must choose “Restore.” This will erase the iPad and install the latest version of iPadOS. The “Update” option tries to reinstall the software without erasing data, but it rarely works on a disabled device and often fails. Clicking “Restore” begins the process. Your computer will download the software, which can take some time depending on your internet speed, and then install it on your iPad.
Fix Method 2: Using the On-Device “Erase iPad” Option
If you are lucky enough to see the “Erase iPad” option on your disabled screen, you can fix the problem without a computer. This feature was added in iPadOS 15.2 and later for this exact scenario.
Why You Might Not See This Option
This option does not appear for everyone, which causes a lot of confusion. It is not random. Your iPad must meet two key requirements to show the “Erase iPad” button.
First, your iPad must be running iPadOS 15.2 or newer. Second, and most importantly, the iPad must have had an active internet connection via Wi-Fi or cellular data *before* it became disabled. If the iPad was offline or had no service when it was locked, this button will not be available, and you will only see the “connect to iTunes” message.
Steps to Erase Your iPad Directly
- On the disabled screen, tap the “Erase iPad” option that appears at the bottom corner.
- Tap “Erase iPad” again on the confirmation screen to start the process.
- Enter your Apple ID password. This is required to turn off Activation Lock, the feature that links the iPad to your account.
- Tap “Erase” one final time to confirm. Your iPad will then erase itself remotely via the internet connection it had earlier.
Once the erase is complete, your iPad will restart as if it were brand new, taking you to the “Hello” setup screen.
Life After Recovery: Setting Up Your iPad Again
Whether you used a computer or the on-device option, your iPad is now erased. The next steps are the same and involve walking through the setup assistant. This is where you get your data back.
Restoring From a Backup
During setup, you will reach a screen called “Apps & Data.” Here, you have several choices. To get your old data back, you should choose “Restore from iCloud Backup” or “Restore from Mac or PC.”
If you backed up to iCloud, sign in with your Apple ID and choose the most recent backup from the list. The iPad will download your apps, settings, and data. If you backed up to a computer, connect to that computer again during setup and choose the restore option in iTunes or Finder. This process can take a while, so keep your iPad connected to power and Wi-Fi.
What If You Have No Backup?
If you have no backup, select “Set Up as New” on the Apps & Data screen. This is a fresh start. While your local photos, messages, and app data are gone, you might still have some information saved in the cloud.
Check iCloud.com on a computer for photos, notes, or contacts that were syncing. Many apps like email, music services, or cloud storage keep your data on their own servers, so you can log back into them individually. Use this as a hard lesson to immediately turn on iCloud Backup in your settings once your new iPad is ready.
Navigating Complex Recovery Scenarios
The basic methods cover most situations, but real life can be messier. Here is what to do when the standard path hits a roadblock. This advice addresses the gaps most other guides ignore.
If Your Backup is Corrupt, Old, or Missing
Sometimes a restore fails, or the only backup you have is from years ago. First, do not panic. Try restoring from a different backup if you have one. If that fails or you have none, you must set up as new.
You can then manually salvage what you can. As mentioned, visit iCloud.com and check other services like your email provider or Google Photos. Your purchased music, apps, and books from Apple are always re-downloadable for free from their stores. The loss is often of recent, local data, which underscores why regular, automatic backups are non-negotiable.
School or Company-Managed iPads
This is a critical warning. If your iPad is managed by a school or business IT department, do not erase it using the methods above without contacting them first.
These iPads have a Mobile Device Management (MDM) profile. If you erase an MDM-locked iPad without first removing it from the company’s system, it will become a “brick” at the Activation Lock screen, requiring your organization’s IT admin to unlock it. Always reach out to your help desk or administrator for instructions.
The Truth About Third-Party Unlocking Tools
A search for this problem will show ads for tools like PassFab iPhone Unlock. It is important to understand what these are. They are software that claims to bypass or brute-force the passcode.
Apple’s official stance condemns these tools as they compromise device security. The risks are significant. They can contain malware, permanently damage your iPad’s software making it unusable, and violate Apple’s terms of service. While the official erase-and-restore method is harsh, it is the only safe, guaranteed, and supported way to fix a disabled iPad. We strongly advise against using third-party unlocking software.
Frequently Asked Questions
Will I lose all my photos if I fix my disabled iPad?
You will lose photos stored only on the iPad. However, if you had iCloud Photos turned on, your entire library will sync back once you restore from a backup or sign into iCloud on your newly set-up iPad.
Can I fix a disabled iPad without a computer?
Yes, but only if you see the “Erase iPad” option on the disabled screen itself. This option requires your iPad to have had internet access before it was disabled and to be running a recent iPadOS version.
How much does Apple charge to fix a disabled iPad?
Apple does not charge for this software process. Doing it yourself with a computer or the on-device option is free. You might incur a charge only if you visit an Apple Store for hands-on technical support and your device is out of warranty.
What should I do if iTunes doesn’t recognize my disabled iPad?
First, ensure you have the latest iTunes or macOS. Try a different USB port, preferably one directly on your computer, not a hub. Use the original Apple cable if possible. Restart your computer and try entering Recovery Mode again. If nothing works, try with a different computer.
Why does my iPad keep saying it is disabled?
This often happens when children or pets play with the device and repeatedly tap the wrong passcode. It can also occur if you forget your passcode, guess wrong too many times, and then the iPad imposes a long wait timer which you interrupt, causing it to disable. Using a simple, memorable passcode and keeping the iPad away from small hands can help.
Can I use my iPhone to fix my disabled iPad?
No, you cannot use an iPhone to fix a disabled iPad. An iPhone does not have the software capability to restore another iOS device. You must use a Mac or Windows PC with iTunes or Finder for the computer method.
What happens if I do not have a backup?
If you have no backup, you will have to set up your iPad as a new device after erasing it. All local data like app documents, non-iCloud photos, and messages will be permanently lost. You can only recover data that was syncing to other cloud services like email or streaming apps.
How long does it take to fix a disabled iPad?
The total time varies. The erase process itself is quick. The longest part is downloading the iPadOS software file, which can take 30 minutes to an hour or more on a slow internet connection. Restoring from a backup adds additional time depending on the backup’s size and your internet speed.
Will this remove the Apple ID from the iPad?
Erasing the iPad will remove your Apple ID, but it will also activate Activation Lock. When you set up the iPad again, it will ask for the Apple ID and password that was last used on the device. You must know this password to finish setup and use the iPad. This is a key anti-theft feature.
I see a “Connect to iTunes” screen but no timer. What does this mean?
This means your iPad is in a permanent disabled state. It has moved past the phase of showing minute or hour-long timers. The only way forward is to connect it to a computer and follow the recovery mode restore process detailed in this guide.
Final Thoughts on How to Fix iPad is Disabled
Fixing a disabled iPad is a straightforward but final process centered on erasing the device. The journey from seeing that alarming message to having a working iPad again involves choosing the right path for your situation, carefully following the restore steps, and then rebuilding your data from a backup.
The most important takeaway is to act now to prevent future lockouts. After you recover your iPad, immediately go to Settings, set a passcode you will remember, and most crucially, turn on automatic iCloud Backup. This ensures that even if you ever have to go through this again, you will lose nothing more than a few hours of your time.