
To find the geotag on a photo on the iPhone, open the photo, tap the “i” icon. When viewing the photo, tap the “i” icon to access the location information and see the geotag details.
Geotags provide location data, including where the photo was taken, making it easy to remember and share your memories. By following these simple steps, you can quickly access the geotag information on your iPhone photos. Let’s delve into how you can utilize this feature to enhance your photo organization and storytelling capabilities.
Understanding how geotags work can elevate your photo-sharing experience and help you preserve precious moments with ease.
Understanding Geotags
What Are Geotags?
A geotag is a piece of metadata that contains the geographical information about where a photo was taken.
Geotags are coordinates embedded in the photo’s EXIF data that pinpoint the exact location.
Importance Of Geotags In Photos
- Memories: Geotags help to preserve and organize precious memories by location.
- Sharing: They enable you to share your adventures with precision and context.
- Security: Be cautious when sharing geotagged photos as they reveal your exact whereabouts.

Credit: www.etsy.com
Privacy Concerns
Discovering the geotag on photos taken with an iPhone can raise concerns about privacy. Understanding how to find and manage this location information is crucial. Taking control of geotag settings can help protect personal privacy when sharing or storing photos.
Risks Of Geotagging
Geotagging on photos can pose serious risks to your privacy. When your photos are geotagged, it means that they contain location data that reveals where the photo was taken. This information can be easily accessed by others if shared online, which can lead to potential privacy breaches.
Protecting Personal Information
It’s crucial to take steps to protect your personal information when it comes to geotagging. By disabling geotagging on your iPhone photos, you can prevent the location data from being embedded in your images. Be cautious when sharing photos online, as geotagged photos can disclose your whereabouts.
Unveiling Geotags On Iphone Photos
Wondering how to locate the geotags on your iPhone photos? Geotags contain location information about where the photo was taken, making it a valuable tool when organizing and sharing your pictures. Understanding how to access and manage geotag information can enhance your photo experience, so let’s delve into the process.
Accessing Geotag Information
To access the geotag information of your photos on iPhone, navigate through the following steps:
- Open the Photos app on your iPhone.
- Choose the photo you want to examine for geotag information.
- Tap the “Details” option in the top right corner of the screen.
- Scroll down to view the location and map information associated with the photo.
Disabling Geotagging Feature
If you prefer not to include location information in your photos, you can disable the geotagging feature by following these steps:
- Go to the Settings app on your iPhone.
- Scroll down and tap on “Privacy”.
- Select “Location Services”.
- Choose the “Camera” option.
- Set the location access for the Camera app to “Never” to disable geotagging.
Credit: www.wired.com
Utilizing Geotags
Discover the power of geotags on iPhone photos by locating and enabling this feature within your device’s settings. Geotagging allows you to effortlessly organize and share your images based on their specific geographic location, enhancing your overall photo-sharing experience.
Location-based Organization
One of the most exciting features of geotags is their ability to assist in location-based organization of your photos on your iPhone. By utilizing geotagged photos, you can easily sort and find your images based on the places they were taken. Gone are the days of scrolling through endless albums searching for that one photo from your vacation in Bali! With geotags, you can quickly navigate through your photo library and relive your favorite memories with a few taps.
Sharing Geotagged Photos
Sharing your geotagged photos with friends and family has never been easier. Not only can you show off your photography skills, but you can also provide them with the exact location where the photo was taken. Simply select the geotagged photo from your camera roll, and with a tap of a button, you can share it via messaging apps, social media platforms, or even through email, allowing your loved ones to experience the moment as if they were there.
With geotags, you can create a travel journal of your adventures with just a few taps. Imagine being able to share your entire trip to New York City or Paris by simply sharing a selection of geotagged photos. You can take your friends and family on a virtual tour, highlighting all the incredible places you visited and the memories you made along the way.
Aside from sharing your photos with others, geotags can also be a useful tool for your own personal benefit. For instance, if you’re a frequent traveler, you can easily track the locations you’ve been to by reviewing the geotags on your photos. This can be especially handy when you need a reminder of that charming little café you stumbled upon during your visit to Rome or the breathtaking sunset you witnessed while hiking in the mountains.
Ensuring Each Heading Adheres To Html Syntax
When creating a blog post, it’s important to ensure that each H3 heading adheres to HTML syntax. This helps maintain the structure and organization of your content, making it easier for both search engines and readers to navigate and understand.
In HTML, an H3 heading is denoted by the tag. This tag should be placed at the beginning of the H3 heading and closed at the end using the closing tag . By following this syntax, you can ensure that your H3 headings are correctly formatted and compatible with various content management systems, including WordPress.
Best Practices
Discovering the geotag on iPhone photos is simple. Access the photo, tap ‘Info,’ and scroll to ‘Location’ for the geotag details.
Maintaining Privacy
Keeping your personal information private is always a top priority when using any electronic device. When it comes to geotagging photos on your iPhone, it’s important to understand how to maintain your privacy. By following a few simple best practices, you can have peace of mind knowing that your location data will stay secure.
Here are some tips to help you maintain privacy when using geotags on your iPhone:
- Disable Location Services for Camera App: Access the Privacy menu in your iPhone settings and disable the location services for the Camera app. This will prevent the app from accessing your location data when taking photos.
- Review App Permissions: Regularly review the permissions you have given to different apps on your iPhone. Make sure that only the apps you trust have access to your location information.
- Turn off Geotagging: To completely disable geotagging for all photos taken on your iPhone, go to the Camera section in your iPhone settings and turn off the “Location” option. This will prevent any location data from being stored with your photos.
- Be Selective with Social Media Sharing: When sharing photos on social media platforms, be cautious about including location details. Consider sharing general locations rather than exact coordinates to protect your privacy.
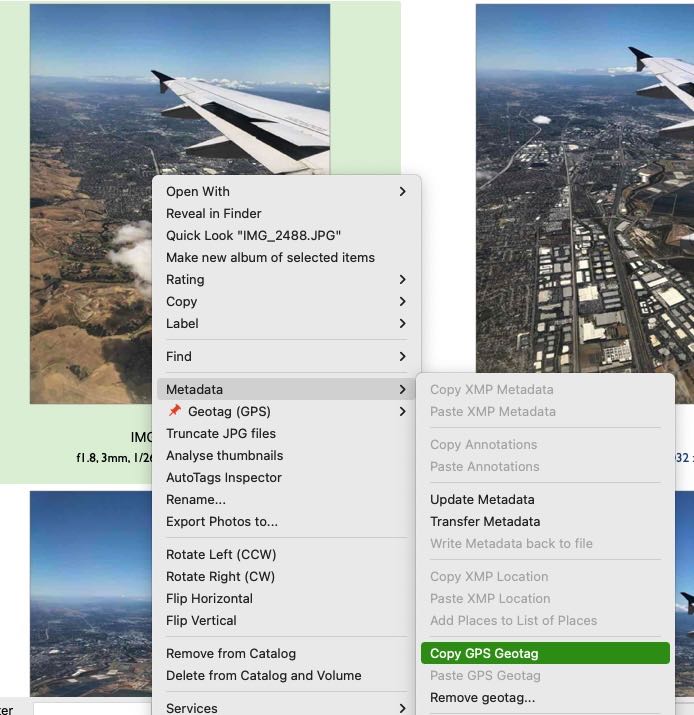
Understanding Exif Data
Exif (Exchangeable Image File Format) data is metadata that is embedded in a photo. It contains various details about the photo, including the date and time it was taken, camera settings, and yes, geotag information. Understanding how to view and analyze this data can provide valuable insights into the location details of your photos.
Here’s how to access Exif data on your iPhone:
- Select the photo you want to view the Exif data for.
- Tap on the “Share” icon (the square box with an arrow pointing up).
- Choose the “Options” button at the top of the share menu.
- Scroll down and enable the “Location” option.
- Tap “Done” and then choose the “Copy” option.
- Open a note or any other text editor app and paste the copied Exif data. You will be able to see the geotag information there.
Remember, by understanding how to view and analyze Exif data, you can have a better understanding of the geotag information embedded within your iPhone photos.
Credit: www.cdfinder.de
Frequently Asked Questions On How To Find Geotag On Photo Iphone
How Do I Find The Geo Location Of A Photo?
You can find a photo’s geo location by using a geo-tagging tool or an online EXIF data viewer. Simply upload the photo to the tool and it will display the location information embedded in the photo’s metadata. This allows you to see the exact location where the photo was taken.
How Do I Find Geotagged Photos?
To find geotagged photos, use location-based social media platforms like Instagram, Flickr, or Facebook. Simply search for specific locations or hashtags related to your desired photos to discover a collection of geotagged images.
How Do I Find The Coordinates Of A Picture On My Iphone?
To find the coordinates of a picture on your iPhone: open the picture, tap the “Share” icon, select “Copy” under the “Options” menu, and then paste it in a notes app. Next, tap the picture, select the “i” icon, and the GPS coordinates will be displayed under “Location.
“
Do Iphone Photos Have Location Data?
Yes, iPhone photos can have location data embedded in them. This data is called geotagging and includes the GPS coordinates of where the photo was taken.
Conclusion
Finding the geotag on your iPhone photos is a simple yet powerful tool for organizing and sharing your memories. By following the steps outlined in this guide, you can easily access and use this feature to add location information to your photos.
Utilizing the geotag function will enhance your overall photo experience and help you relive your cherished moments for years to come.