Figuring out how to invert a picture on iPhone iOS 17 feels confusing if you have already dug through your settings. The solution is not where most people first look. You can create a permanently inverted image, but you need to use the right tools because the most common suggestion does not actually edit your photo at all. Here is the definitive guide, starting with one essential piece of information that clears everything up.
The Critical Clarification for Inverting Pictures
Before you try anything else, you must understand the single biggest point of confusion. When you search for how to invert a picture, you will find instructions for a feature called “Invert Colors” in your iPhone’s Accessibility settings. This feature is not the answer you are looking for.
It includes two options called Smart Invert and Classic Invert. These are display accommodations designed to help users with visual sensitivities by flipping the colors of everything on your screen. When you turn on Smart Invert, your entire iPhone interface, including your photos, will look inverted.
However, this is only a temporary screen effect. The moment you close the photo app or turn the setting off, your original photo remains completely unchanged. It does not create a new, edited image file that you can save or share. For true photo editing, where you permanently change the picture’s pixels to their opposites, you need to use a different approach entirely.
What “Invert Colors” in Settings Actually Does
The Invert Colors option lives in your Settings app under Accessibility, then Display & Text Size. Tapping the toggle switch for either Smart Invert or Classic Invert will immediately change how your screen looks. Smart Invert is clever, as it tries to leave images mostly normal while inverting interface elements, but it still does not edit the photo file itself. This setting is for viewing your screen comfortably, not for creating edited pictures.
The Core Difference Between Display Adjustment and Photo Editing
Think of it like wearing sunglasses. Putting on tinted glasses changes how you see the world, but it does not change the world itself. The Accessibility setting is like those glasses for your iPhone screen. True photo inversion is like taking a paintbrush and physically repainting a scene into its negative. The first is a temporary view, and the second is a permanent change to the image itself. For saving an inverted picture, you need the paintbrush, not the glasses.
Choosing Your Method to Invert the Photo
Since the native Photos app does not have a simple “Invert” button, you have two reliable paths to choose from. Your choice depends on whether you prefer to work with the tools already on your phone or if you want more powerful and precise control. Both methods will create a new, saved image in your camera roll.
The first method uses the hidden editing tools inside your iPhone’s own Photos app. It is completely free and requires no downloads. It gives you good control, though it involves a few more taps because the invert function is not a preset filter. This is the best way if you want to quickly invert a single photo without installing anything new.
The second method involves using a dedicated third-party photo editing app. Apps like Adobe Photoshop Express or Luminar Mobile are built for this kind of work. They often have a one-tap invert filter and many other adjustments to fine-tune the result. This path is better if you edit photos often or want to invert multiple images quickly with a dedicated tool.
Inverting a Picture with Your iPhone Photos App
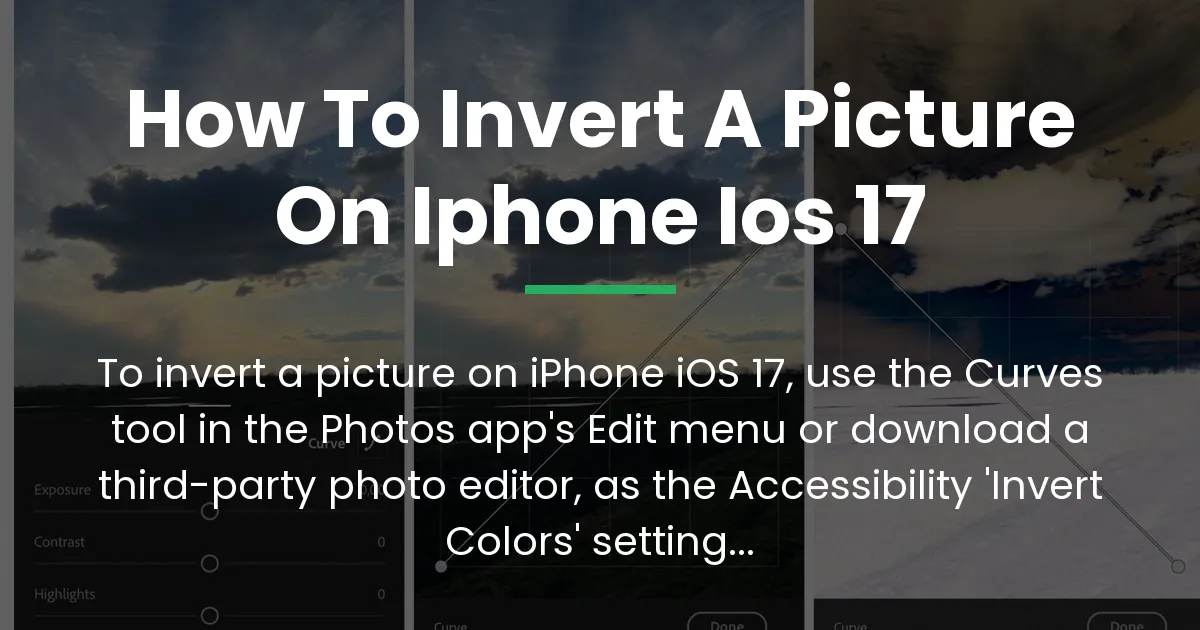
You can invert a picture on iPhone iOS 17 using the built-in Photos app by accessing a powerful but less obvious tool called Curves. This tool lets you manipulate the color channels to create a perfect inversion. Follow these steps to edit and save your photo permanently.
Step 1: Locate the Hidden Color Adjustment Tools
Open your Photos app and select the image you want to invert. Tap the “Edit” button in the upper right corner of the screen. You will see icons at the bottom for cropping, filters, and adjustments. Do not tap the Filters button. Instead, tap the third icon that looks like a set of dials. This is the Adjustments menu.
Step 2: Step-by-Step Using the Curves Adjustment
- In the Adjustments menu, swipe left on the options until you find “Curves.” Tap on it.
- You will see a diagonal line on a graph. In the upper left of this panel, tap the icon that says “RGB.” A menu will pop up.
- From this menu, select “Red.” You will see a red line on the graph.
- Now, tap and hold the point at the lower left corner of the line. Drag this point straight up to the top left corner. Then, tap and hold the point at the upper right corner and drag it straight down to the bottom right corner. This flips the red channel, making reds become cyans.
- Tap “RGB” again and select “Green.” Repeat the process: drag the lower left point to the top, and the upper right point to the bottom.
- Finally, tap “RGB” and select “Blue.” Once more, drag the lower left point up and the upper right point down.
You have now inverted all three color channels. Your photo will be completely transformed into its negative image. You can watch the change happen in real time as you drag each point.
Step 3: Saving Your Edited, Inverted Image
Once you are happy with the inverted look, tap the yellow “Done” button in the lower right corner. This action saves the changes directly to the photo in your library, creating a new version. If you want to keep the original, you must duplicate the photo before editing. To do that, open the photo, tap the share icon, and select “Duplicate” before you start the edit. This way, you will have both the original and the inverted copy.
Inverting a Picture with a Dedicated Editing App
If the Curves method feels too technical, a third-party app is the easiest way to invert a picture on iPhone iOS 17. These apps are designed for quick, powerful edits and often include an invert filter that does the work in one tap.
The Advantage of a Dedicated Tool
Apps like Photoshop Express or Luminar Mobile offer a straightforward “Invert” option, usually found in their color or filter menus. They also provide sliders to adjust contrast, brightness, and saturation after inverting, which can help you perfect the look. Using a dedicated app is faster, especially if you plan to invert several photos.
Example Walkthrough with a Recommended App
For this example, we can use Photoshop Express, which is free and easy. First, download “Adobe Photoshop Express” from the App Store. Open the app and grant it access to your photos. Select the image you want to edit from your camera roll.
Tap the “Adjustments” icon at the bottom. Look for an option called “Color.” Inside the color menu, you will find a slider labeled “Invert.” Simply drag this slider all the way to the right, or tap on it. Your photo will invert instantly. You can then use other sliders in the app to tweak the final image to your liking.
Exporting to Your Camera Roll
After applying the invert effect and any other adjustments, look for a share or save icon, usually in the upper right corner. Tap it and choose “Save to Camera Roll” or “Save Image.” The app will process the edit and place the brand new inverted photo directly into your iPhone’s Photos library, right alongside your other pictures. The original file remains untouched.
Adjusting Your Inverted Image
Once you have inverted a picture, your work does not have to stop there. The inversion process can sometimes create an image that looks flat or lacks contrast. This is your chance to refine it and make the result look even better, moving from a simple effect to a creative edit.
Refining Contrast and Brightness Post-Inversion
Immediately after inverting in either the Photos app or a third-party tool, explore the other adjustment sliders. Boosting the “Contrast” can make the inverted colors pop and add depth. Gently adjusting the “Black Point” or “Shadows” can recover detail that might have been lost. These small tweaks take your inverted photo from a technical exercise to a polished piece of work.
Creative Uses for an Inverted Photo
Inverting a picture is not just a fun trick. It has practical and artistic uses. It can reveal hidden details in a photo, especially in shots with high contrast or shadows. Designers use inverted images to create interesting overlays and textures for graphics. For the everyday user, it can turn a simple daytime landscape into a mysterious, night-like scene, sparking new ideas for creative projects.
Managing File Formats and Quality
A common concern is whether inverting a photo ruins its quality. The editing process described here is non-destructive in terms of compression. You are not saving the file over and over at lower quality. When you tap “Done” in the Photos app or “Save” in another app, it creates a new image file. For the best quality, ensure you are working with the original, high-resolution photo from your camera. The inverted version will maintain a similar file size and clarity, perfect for sharing or printing.
Frequently Asked Questions
Does inverting a picture reduce its quality?
No, inverting a picture does not reduce its quality. The inversion process simply maps each color and brightness value to its opposite. It is a mathematical adjustment, not a compression. The final saved image will have the same resolution and similar file size as your original, as long as you save it without applying heavy additional compression.
Can I invert multiple photos at once on my iPhone?
There is no built-in batch invert feature on the iPhone. You must invert each picture one at a time using the Photos app method or a third-party editor. Some powerful third-party apps might offer batch processing, but the native iOS tools do not support this for inversion.
How do I revert an inverted photo back to normal?
If you have just inverted a photo and have not closed the editor, tap the “Undo” arrow or “Revert” option. If you have already saved it, you have two options. First, if you edited it in the Photos app, open the photo, tap Edit, and then tap “Revert” to restore the original. Second, if you no longer have the original, you can simply invert the inverted photo again using the same steps, which will return it to its normal colors.
What is the difference between ‘Invert’ and ‘Negative’ for a photo?
For digital photos, “Invert” and “Negative” mean the same thing. Both terms describe reversing the colors and brightness values of an image to create its opposite. Historically, “negative” referred to photographic film, while “invert” is the common term in digital software. On your iPhone, you are performing an inversion to create a digital negative.
Why would I want to invert a photo in the first place?
Inverting a photo can serve several purposes. It is a great artistic effect to create an eerie or abstract version of an image. Practically, it can help with visual accessibility by creating a high-contrast view. It is also used in design to create masks or to examine the tonal values of a picture, helping photographers and artists understand light and shadow in a new way.
In the end, knowing how to invert a picture on iPhone iOS 17 is about understanding the tools you already have. You can confidently use the Curves adjustment in your Photos app for a free and effective method, or turn to a dedicated editor like Photoshop Express for a one-tap solution. Just remember that the path does not go through the Accessibility settings. With this knowledge, you can move past the common confusion and start creating unique, inverted images to save, share, and use in your projects right from your iPhone.