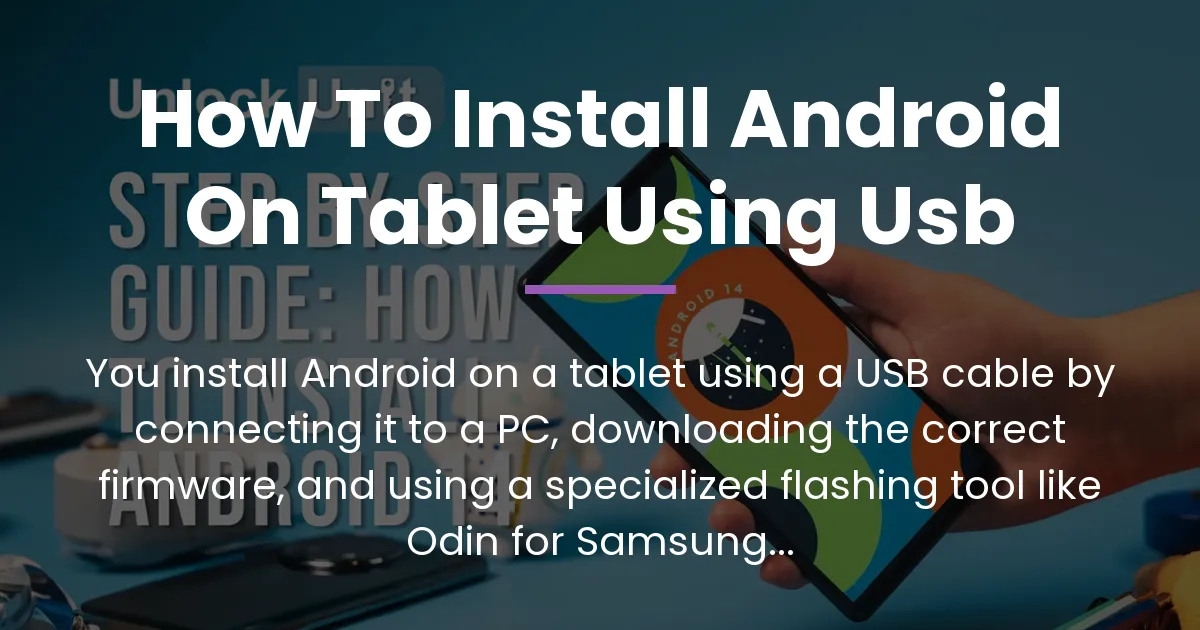
If you’re looking to breathe new life into an old tablet or fix a stubborn software issue, learning how to install Android on a tablet using a USB cable is a powerful skill. This guide provides the complete procedure, from essential preparation to final setup. It’s crucial to understand that this is a technical process with real risks, and success hinges entirely on meticulous preparation tailored to your specific device model. Let’s walk through everything you need to know, ensuring you avoid the common pitfalls that trip up most people.
What Installing Android Via USB Really Means
When you search for how to install Android on a tablet using usb, you are not looking for a simple over-the-air update. You are seeking a manual firmware installation, often called “flashing.” This process completely replaces the operating system on your device by transferring a firmware file from your computer.
This is different from a standard update you get through the Settings app. Those updates are official, incremental, and pushed by your tablet’s manufacturer. Flashing via USB is a more direct and powerful method. People use it to install a newer official OS that hasn’t been offered to their device, to downgrade to a more stable version, or to completely repair a corrupted system that won’t boot properly. It’s the definitive solution when other methods fail.
Essential Preparation Before Connecting Your USB Cable
This preparation phase is the most critical part of the entire process and where most guides fall short. Rushing through this is the primary reason tablets end up stuck or bricked. Do not skip any of these steps.
Identify Your Tablet’s Exact Model Number
You cannot use any random Android firmware. You must find the one built specifically for your tablet’s exact model and region. Using the wrong file is a guaranteed way to cause serious problems.
To find this, go into your tablet’s Settings app. Scroll down and tap on “About tablet” or a similar option. Look for entries like “Model number,” “Device name,” or a code that often starts with letters and numbers, like “SM-T210R.” Write this code down exactly as it appears. You can also usually find this model number printed on the back of the device or on the original packaging.
Install the Correct USB Drivers on Your Computer
Your computer needs to speak your tablet’s language. Generic USB drivers often fail to establish the deep connection needed for flashing. You need the manufacturer-specific drivers.
For Samsung tablets, this is the “Samsung Android USB Driver,” available from Samsung’s developer website. For tablets from other brands like Lenovo, Huawei, or those using MediaTek chipsets, you will need to search for the specific drivers from the manufacturer’s support page. Installing these drivers ensures your computer reliably recognizes your tablet in the special modes required for installation.
Back Up All Your Personal Data
This process will erase everything on your tablet. Your photos, messages, app logins, and files will be gone. You must back them up first.
Use cloud services like Google Drive for your contacts and photos. Connect your tablet to your computer via USB in normal file transfer mode and manually copy important folders to a safe location. There is no recovery after the flash begins, so double-check your backup is complete.
Enable Developer Options and USB Debugging
Your tablet has a hidden menu for these advanced operations. To unlock it, open the Settings app and go to “About tablet.” Find the “Build Number” entry.
Tap on “Build Number” seven times in quick succession. You will see a message saying “You are now a developer!” or similar. Go back to the main Settings menu, and you will now see a new option called “Developer options” or “Developer settings.” Open it and find the toggle for “USB debugging.” Switch it on and confirm any warning prompt. This allows your computer to send advanced commands to your tablet.
Gather the Necessary Files and Software
You need two things on your computer: the official firmware file and the correct flashing tool. The firmware is the actual Android OS package. Search for your exact model number along with “official firmware” on trusted tech sites or the manufacturer’s own update servers to find a safe download.
The flashing tool is the software that installs the firmware. For most Samsung tablets, the tool is called Odin. For many other brands, especially those with MediaTek processors, a common tool is SP Flash Tool. Download the appropriate tool for your device. Ensure you have your tablet’s battery charged above 50% to prevent a shutdown during the process.
The Step-by-Step Installation Process
With all your preparation complete, you are now ready to begin the core installation. Follow these steps in order without deviation.
Enter the Required Mode on Your Tablet
Your tablet must be in a special state to accept a new operating system. For most Samsung devices, this is called “Download Mode.” For many other Android tablets, it might be called “Fastboot Mode” or “Bootloader Mode.”
The method to enter this mode varies. It typically involves turning the tablet completely off. Then, you hold a specific combination of buttons, like Volume Down + Power or Volume Up + Volume Down + Power, and connect the USB cable to the computer while holding them. Your tablet screen should show a warning message or a special interface. This indicates it’s ready for the firmware file.
Connect Your Tablet to the Computer
Use a high-quality USB cable for this connection. The cable that came with your tablet is the most reliable. Avoid using a worn-out cable or a USB hub.
Plug the cable directly into a USB port on the back of your desktop computer, if possible, as these ports often provide a more stable connection than front panel ports. On a laptop, use any known-good port. A poor connection can interrupt the flash and corrupt your device.
Use the Flashing Tool on Your Computer
Launch the flashing software you downloaded, such as Odin. The interface should show a connection indicator, often turning a box blue or displaying a COM port number, confirming it sees your tablet.
Load the official firmware file you downloaded into the tool. In Odin, you click the “AP” or “PDA” button and select the firmware file. Double-check that everything is correct. Do not touch any other settings unless you are absolutely sure of what they do. Click the “Start” button to begin the flashing process.
Complete the Flash and Wait
The tool will now transfer and install the new Android OS. A progress bar will move on both the computer software and often on the tablet screen itself. This can take several minutes.
It is vital that you do not disconnect the USB cable, close the program, or use your computer during this time. Wait until the tool shows a large “PASS!” message or a green success indicator. The tablet will usually reboot automatically. Only when you see the standard Android startup animation should you consider the process complete and safely disconnect the cable.
After the Installation Setup and Troubleshooting
The journey doesn’t end with a successful flash. The first boot and initial setup are part of the process, and knowing how to handle problems is essential.
The First Boot and Initial Setup
The very first boot after installing a fresh OS can take a surprisingly long time, often five to ten minutes or more. This is normal as the system initializes. Be patient and let it finish.
You will then be greeted by the standard Android setup wizard, just like when the tablet was new. Walk through selecting your language, connecting to Wi-Fi, and logging into your Google account. You can then begin restoring your personal data from the backup you created earlier.
Addressing Common Problems
Even with perfect preparation, things can sometimes go wrong. Here is how to diagnose and fix the most frequent issues.
Tablet Stuck in a Boot Loop
If your tablet keeps restarting at the logo screen, it’s stuck in a boot loop. This is often fixable. You need to access the stock recovery system. Turn off the tablet, then boot it by holding Volume Up + Power (this combo varies by device).
Use the volume keys to navigate the recovery menu and select “Wipe cache partition.” Confirm the action. Then go back and select “Factory reset” or “Wipe data/factory reset.” This clears conflicting data from the old OS. Finally, select “Reboot system now.”
Flashing Tool Fails or Freezes
If the flashing software gives an error or freezes partway, stop the process. First, check your physical connection. Try a different USB port and a different cable if you have one.
Completely close the flashing tool, restart your computer, and try the process again from the beginning. If it fails again, the firmware file itself might be corrupted. Go back and download the official firmware from a different source, ensuring it matches your model exactly.
Computer Does Not Detect the Tablet
If the flashing tool never shows a connection, your computer isn’t seeing the tablet. Go back to your preparation checklist. Reinstall the specific USB drivers for your brand. Try every USB port on your computer.
On the tablet, ensure USB debugging is still enabled in Developer Options. If you are using a USB-C to USB-C cable, try a traditional USB-A to USB-C cable instead, as some flashing tools work better with this older standard for initial detection.
Frequently Asked Questions
Can I install any Android version on any tablet using a USB cable?
No, you cannot. You can only install versions of Android that the tablet’s manufacturer has officially built for your specific hardware model. The processor, drivers, and other components are unique, so you must use the correct official firmware.
What is the difference between flashing a ROM and installing an official update?
Flashing via USB is a manual, computer-driven process that completely overwrites the system. An official update through the Settings app is a smaller, automated patch provided over Wi-Fi by the manufacturer. Flashing is more powerful but carries more risk.
Is it possible to brick my tablet by doing this, and can it be fixed?
Yes, it is possible to “brick” or permanently damage your tablet if you use the wrong files or interrupt the process. However, many soft bricks, like boot loops, can be fixed by re-flashing the correct firmware or using the recovery system, as outlined in the troubleshooting section.
Do I need to root my tablet to install Android via USB?
No, you do not need to root your device to install official firmware via USB. Rooting gives you superuser access to the system, while flashing is about replacing the entire system. They are separate procedures.
My computer doesn’t recognize my tablet in USB debugging mode. What do I do?
This is almost always a driver issue. Uninstall any old Android drivers from your computer, then install the specific USB drivers for your tablet’s brand (e.g., Samsung drivers for a Galaxy Tab). Also, try a different USB cable and port.
Where can I safely find official firmware files for my tablet model?
The safest sources are the manufacturer’s own support pages or official firmware update servers. Reputable, well-known tech forums and dedicated firmware websites are also good resources, but always verify the file matches your exact model number before downloading.
What does ‘OEM Unlocking’ mean in Developer Options, and do I need it?
OEM Unlocking allows the bootloader (the software that starts the OS) to be unlocked, which is necessary for installing custom software. For installing official firmware via tools like Odin, you usually do not need to enable this option. It’s more for custom ROMs.
Can I use a USB-C to USB-C cable, or do I need a traditional USB-A cable?
You can try a USB-C to USB-C cable, but many older flashing tools and computer ports work more reliably with a traditional USB-A to USB-C cable. If you have connection problems, switching to a USB-A cable is the first thing to try.
How long should the first boot take after installing a fresh OS?
The first boot after a fresh install can take between 5 to 15 minutes. Do not panic if it seems long. The system is optimizing applications and setting up for the first time. Only intervene if it is stuck for over 20 minutes.
Will installing Android via USB delete everything on my tablet?
Yes, the standard flashing process will perform a full factory reset, deleting all your apps, photos, files, and settings. This is why creating a complete backup before you start is an absolute requirement, not a suggestion.
Conclusion
Learning how to install Android on a tablet using usb is a valuable technical skill that can solve many problems and extend the life of your device. The key to success is not in the clicking and flashing itself, but in the careful, detailed preparation that comes before it. By precisely identifying your model, sourcing the right files, and following each step with patience, you can confidently manage your tablet’s software. Remember, a successful installation is a planned one. Take your time with the preparation, and you’ll be rewarded with a tablet that feels new again.