Seeing an iPad unavailable message on your screen can feel like a sudden lockout from your own device. If you are searching for a solution, the direct answer is this: to fix an iPad unavailable screen, you must erase the iPad. This process removes the forgotten passcode and the security lockout but also deletes all your data. Your exact path to do this depends on a couple of very specific details about your situation. This guide will walk you through a simple decision process and then provide the clear steps for your scenario, from the immediate fix to what you need to do afterward to get back up and running.
What the iPad Unavailable Screen Means
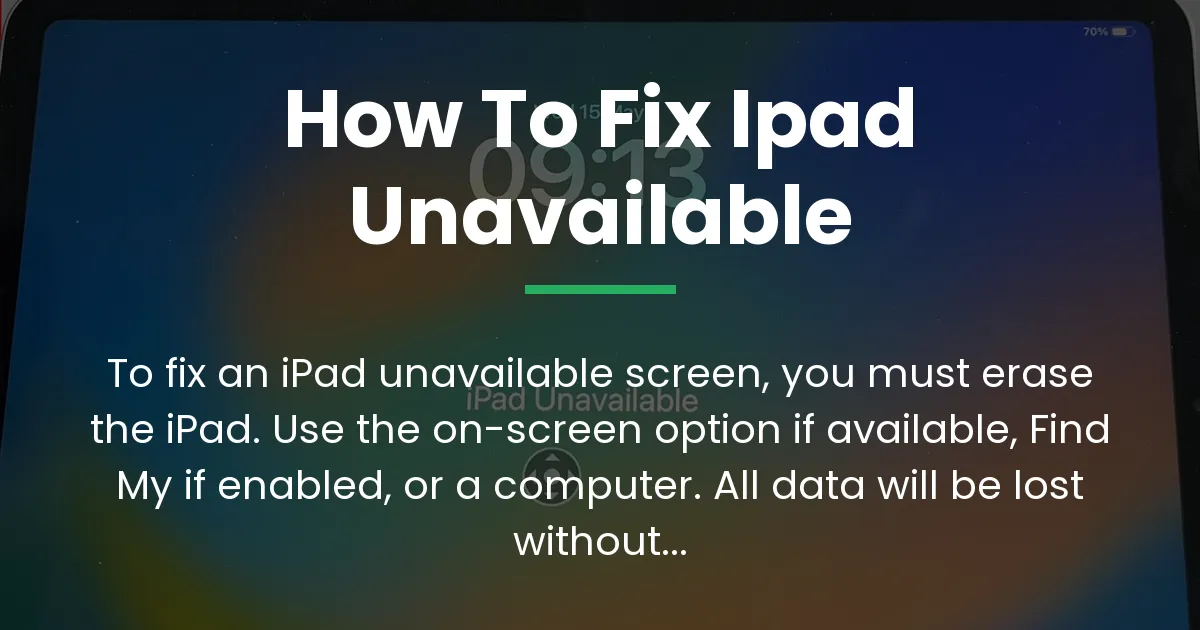
When your iPad shows a message that says “iPad Unavailable” or “Security Lockout,” it means the device’s built-in security has been triggered. This is not a glitch or a simple software bug. It is a deliberate lock that happens after the wrong passcode has been entered too many times in a row.
Apple designed this feature to protect your personal information if your iPad is ever lost or stolen. By making the device unavailable after repeated failed attempts, it stops anyone from guessing their way into your data. Unfortunately, this also happens if you, the owner, simply forget your passcode, or if a child or family member accidentally types the wrong number too many times.
The most critical thing to understand from the start is that “fixing” this problem always involves a full erase of the device. There is no secret bypass or trick to unlock it without erasing. The only goal of the process is to remove the unknown passcode so you can set the iPad up again, either as new or from a backup you made earlier.
Before You Start What You Need to Know
Before you take any action, there are a few non-negotiable items you must have or confirm. Skipping this preparation can lead to a bigger problem, like being permanently locked out by Activation Lock.
First, you absolutely need the Apple ID and password that was last used on the locked iPad. After the erase is complete, the iPad will ask for these credentials. This is a security step called Activation Lock, and without that correct Apple ID password, your iPad will remain a useless brick even after the erase. If you do not remember this password, you must start recovering it at iforgot.apple.com before you erase the device.
Second, understand that erasing removes everything. All your photos, apps, messages, and settings will be wiped clean. The only way to get that data back is if you had a backup in iCloud or on your computer. If you have a backup, you can restore it during the setup process after the erase. If you do not have a backup, your data is gone for good.
Finally, for one of the main methods, you will need access to a computer. This can be a Mac or a Windows PC. Ensure the computer has a USB port and, if it is a newer Mac or PC with only USB-C ports, you will need the correct cable or adapter to connect your iPad. The computer should also have the latest version of its software—macOS for a Mac or iTunes for a Windows PC.
Identifying Your Recovery Path
This is the most important step that most guides skip. You do not need to read about every single method. You only need the one method that applies to your exact situation right now. Follow this simple logic to find your path.
Look at your iPad’s lock screen. If you see a small “Erase iPad” or “Erase Device” option in the bottom corner of the unavailable message, you are in luck. This means your iPad is running iPadOS 17 or later and you can use the simplest method. Follow the instructions for Method 1 below.
If you do not see that “Erase iPad” option on the screen, your next question is: Did you have the “Find My” feature turned on for this iPad? If you are not sure, think about whether you could use the Find My app on another Apple device to see your iPad’s location. If “Find My” was on, you can use Method 2, which involves erasing it remotely through the iCloud website.
If there is no “Erase iPad” option on the screen and you did not have “Find My” enabled, then your only remaining option is Method 3. This method requires you to connect the iPad to a computer and use recovery mode to erase it. This is your path if you have an older iPad model or if the other two conditions are not met.
Your Quick Decision Guide
- On-screen option visible? Yes -> Use Method 1.
- No on-screen option, but Find My is ON? Yes -> Use Method 2.
- No on-screen option and Find My is OFF? Yes -> You must use Method 3 with a computer.
Method 1 Erase Directly from the Lock Screen
This is the easiest and fastest solution, but it is only available on iPads running iPadOS 17 or newer. If your device shows the “Erase iPad” option, follow these steps carefully.
- On the iPad unavailable screen, tap the “Erase iPad” option that appears in the bottom corner.
- A confirmation screen will appear. Tap “Erase iPad” again to confirm your choice.
- You will then be asked to enter your Apple ID password. This is the password for the account that is signed in on the device. Entering this proves you are the owner and allows the erase to proceed.
- After you enter the password, tap “Erase iPad” one final time to start the process.
The iPad will now begin erasing all its content and settings. This may take a few minutes. Once done, the iPad will restart and show the familiar “Hello” setup screen, just like when it was brand new. You can then proceed to set it up.
Be aware that if you have recently changed your Apple ID password, there might be a security delay. In some cases, you may be forced to wait up to an hour before you can proceed with the erase. This is a protective measure, and you simply have to wait for the timer to count down.
Method 2 Erase Your iPad Using Find My
If your iPad is too old to show the on-screen erase option but you know you had Find My enabled, you can erase it remotely using another device. This requires that the iPad is connected to the internet, either via Wi-Fi or cellular data. You will need access to a web browser on a computer, phone, or tablet.
- Open a web browser on any other device and go to icloud.com/find.
- Sign in with the exact same Apple ID and password that is used on the locked iPad.
- Once you are in, click “All Devices” at the top and select your unavailable iPad from the list.
- A window with information about your iPad will appear. Click “Erase iPad“.
- Confirm that you want to erase the device. You may also be given an option to enter a phone number where a message can be sent after the erase, which is helpful if you think the device was lost.
After you confirm, the erase command will be sent to your iPad over the internet. As soon as the iPad connects to Wi-Fi or cellular, it will receive the command, erase itself, and restart. You can then pick it up and begin the setup process on the device itself.
Method 3 Erase Your iPad Using a Computer
This is the universal method that works for every model of iPad. It is your only option if the previous two methods do not apply. You will need a computer (Mac or PC) and a cable to connect your iPad to it. The iPad will be placed into Recovery Mode to perform the erase.
On a Mac with macOS Catalina or Later
- Connect your iPad to your Mac using a USB cable. If your Mac only has USB-C ports, you will need a USB-C to Lightning or USB-C cable, depending on your iPad model.
- Open the Finder application on your Mac. Your iPad should appear in the Finder sidebar under “Locations.” If you see a message asking you to “Trust This Computer,” you cannot proceed because you cannot tap “Trust” on a locked iPad. This is normal for this situation.
- You now need to force your iPad into Recovery Mode. The steps vary by model:
- For iPad with Face ID, iPad with Touch ID (top button), or iPad with no home button: Press and quickly release the Volume Up button. Then press and quickly release the Volume Down button. Finally, press and hold the Top button until you see the recovery mode screen (a cable pointing to a computer icon).
- For iPad with a Home button: Press and hold both the Top (or Side) button and the Home button at the same time. Keep holding them until you see the recovery mode screen.
- In Finder, a window should pop up for your iPad. It will give you options to “Restore” or “Update.” Click “Restore.” This will download the latest iPadOS software and erase the iPad.
- Finder will complete the process. Wait for it to finish. Your iPad will restart, and you will see the “Hello” screen when it is done.
On a Windows PC or Older Mac
- If you are on a Windows PC, make sure you have the latest version of iTunes installed from the Microsoft Store. On an older Mac running macOS Mojave or earlier, open iTunes.
- Connect your iPad to the computer with a USB cable.
- Put your iPad into Recovery Mode using the same button steps described for the Mac above.
- iTunes (or Finder on an old Mac) should detect an iPad in recovery mode and show a pop-up window. Click “Restore.”
- The computer will download the software and erase your iPad. Do not disconnect the cable until the process is completely finished and the iPad restarts.
After You Fix the iPad Unavailable Screen
Once the erase is complete, your work is not quite done. Your iPad will restart to the initial “Hello” setup screen. As you swipe to begin, you will immediately encounter Activation Lock.
The iPad will ask for the Apple ID and password that was last used on the device before it was erased. This is a critical security check. You must enter the correct credentials. If you do not remember them, you are stuck here until you can recover your Apple ID account.
After you pass the Activation Lock step, you will reach the screen where you can restore your data. If you had a backup in iCloud or on your computer, you can choose “Restore from iCloud Backup” or “Restore from Mac or PC.” Follow the prompts to select your most recent backup. This will bring back your apps, photos, and settings, though it may take some time to complete.
If you did not have a backup, you must select “Set Up as New iPad.” This will give you a fresh, empty iPad where you will need to manually re-download apps and sign into accounts. Your old personal data is gone.
Common Problems and Solutions
Sometimes, the process does not go smoothly. Here are solutions to the most frequent hurdles people face.
Computer Does Not Recognize the iPad
If you connect your iPad and nothing happens on the computer, first try a different USB cable, preferably the original one that came with your iPad. Try a different USB port on the computer as well. If you are on a Windows PC, ensure you have the latest iTunes from the Microsoft Store, not an old version from apple.com. Restarting your computer can also help. If you see a “Trust This Computer” alert on the iPad screen that you cannot tap, that is expected when the iPad is locked; just proceed to put it into Recovery Mode.
Activation Lock After Erasing
This is when you finish the erase but the setup screen asks for an old Apple ID you do not remember. There is no way around this. You must go to iforgot.apple.com on another device to reset your Apple ID password. If you cannot access that email or phone number anymore, you may have to go through Apple’s account recovery process, which can take several days.
No Erase iPad Option on Screen
If you were expecting to see the “Erase iPad” button on the lock screen but it is not there, your iPad is likely running an older version of iPadOS (16 or earlier). This means you cannot use Method 1. You must use either Method 2 (with Find My) or Method 3 (with a computer) instead.
The Erase Process is Stuck or Failing
If the restore process in Finder or iTunes gets stuck, or you see an error code, the first thing to do is wait a few minutes. Sometimes it is just slow. If it fails, unplug your iPad, restart your computer, and try the entire Recovery Mode process again from the beginning. Ensure your computer has a strong and stable internet connection, as it needs to download iPadOS software.
Frequently Asked Questions
Will I lose all my data when I fix the iPad unavailable screen?
Yes, erasing the iPad is the only way to fix it, and that erases all data. The only way to recover your photos, apps, and settings is if you had a backup in iCloud or on your computer before the lockout happened.
What if I do not remember the Apple ID password used on the iPad?
You must recover your Apple ID password before you erase the iPad. Go to iforgot.apple.com on another device and follow the steps to reset your password. You will need this password after the erase to get past Activation Lock.
Can I fix an iPad unavailable without a computer or Wi-Fi?
Yes, but only under specific conditions. If your iPad shows the “Erase iPad” option directly on the lock screen (iPadOS 17+), you can fix it with just the iPad itself. If not, you need either Wi-Fi for the Find My method or a computer for the recovery mode method.
My iPad is old and does not show the Erase iPad option. What do I do?
Older iPads do not have the on-screen erase feature. For those models, you must use the Find My method if it was enabled, or you must use the computer and recovery mode method to fix the iPad unavailable screen.
How is this different from a regular factory reset?
The result is the same—a fully erased iPad. The difference is the starting point. A regular factory reset is done from the Settings app on an unlocked iPad. Fixing an unavailable screen is the emergency method you use when you are locked out and cannot get into Settings at all.
After erasing, my iPad is asking for an old Apple ID password. Why?
This is Activation Lock, a security feature. It ties the iPad to your Apple ID even after an erase to prevent theft. You must enter the password for the Apple ID that was last signed in on the device. See the “Common Problems” section for help if you forgot it.
I used a computer, but iTunes or Finder does not recognize my iPad. What is wrong?
This is usually a cable, port, or software issue. Try a different USB cable and a different port on your computer. Make sure you have the latest software (iTunes from Microsoft Store on PC, or latest macOS on Mac). Also, ensure you have successfully put the iPad into Recovery Mode, showing the cable and computer icon.
How long does the erase and restore process take?
The erase itself is usually quick, often under ten minutes. However, if you are using a computer, the process includes downloading the latest iPadOS software, which can take 30 minutes to an hour or more, depending on your internet speed. Restoring from a large backup afterward can also take considerable time.
Can someone at the Apple Store fix this without erasing my data?
No. Apple Store technicians have no special tools to bypass this security lockout. They will perform the same erase procedures described in this guide. Their role is to help you if you are stuck with the technical steps, but they cannot recover your data if you do not have a backup.
How can I prevent this from happening again?
To avoid this stressful situation, first, use a passcode you will remember, or consider using Face ID or Touch ID. Most importantly, turn on automatic iCloud backups in your iPad Settings. Go to Settings > [Your Name] > iCloud > iCloud Backup and turn it on. This way, if you ever have to erase your iPad again, you can easily restore from a recent backup and lose very little.
In summary, to fix an iPad unavailable error, erasing the device is the necessary and only solution. The best method for you depends on whether your iPad shows the on-screen option or has Find My enabled, with using a computer as the final reliable option for all models. The entire process underscores the vital importance of remembering your Apple ID password and, above all, maintaining regular backups of your data so a locked screen does not become a permanent loss.