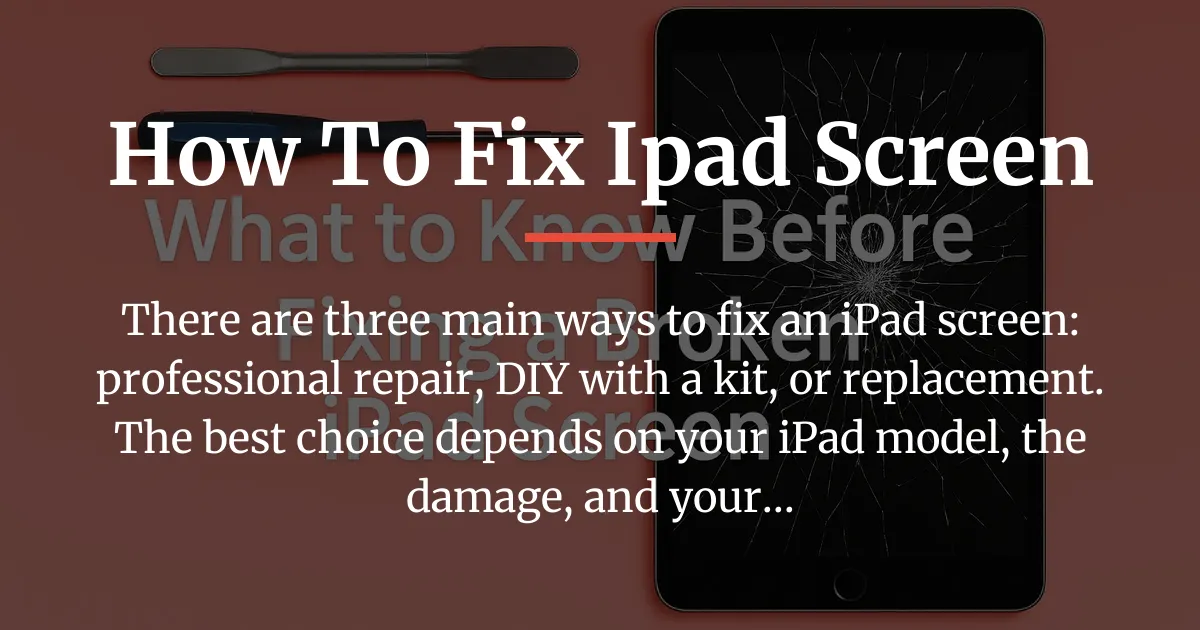
Looking at a cracked iPad screen can feel like a mini-crisis. This is especially true if it’s your main computing device. The good news is you have clear options to fix it.
There are three primary ways to fix an iPad screen: professional repair from Apple or a third-party shop, a do-it-yourself replacement with a kit, or opting for a full device replacement. The best choice depends entirely on your specific iPad model, the type of screen damage, your budget, and your own comfort with technical tasks.
This guide will first help you understand your damage, then walk you through each option in detail, and finally help you make the smartest decision for your situation before you spend any money or time.
Understanding Your iPad Screen Damage
Not all broken screens are the same. The type of damage you have directly impacts the repair’s complexity, cost, and which method makes the most sense. Before you do anything, take a close look at your iPad.
Minor cracks on the glass might be only a cosmetic issue. If the touch response is still perfect and the display shows colors correctly, the damage might be limited to the top glass layer.
A more serious problem is when the touch stops working or becomes erratic. This points to a broken digitizer. The digitizer is the layer that senses your finger, and it’s often fused to the glass. This is commonly called a shattered iPad digitizer.
Other issues include lines, color glitches, or black spots on the display. This indicates damage to the LCD panel itself. Sometimes, a hard impact can crack the glass and damage the LCD underneath. In rare cases, you might see the screen popping out from the frame, which is a physical detachment issue.
Types of Screen Problems
Knowing the exact problem helps set realistic expectations. A simple glass crack on an older model might be a DIY candidate. A newer iPad Pro with a non-responsive touch and lines on the display is a much bigger challenge.
Always check if the iPad still responds to the home button or volume controls. If it does, the core device is likely okay. If the screen is completely black and unresponsive to any button, the damage could be deeper, affecting the logic board. This significantly changes the repair cost and feasibility.
Your Three Options to Fix an iPad Screen
Once you know what’s broken, you can evaluate the paths forward. Each option has a different balance of cost, quality, convenience, and risk.
Professional Apple Service
Going directly to Apple or an Apple Authorized Service Provider is the most reliable method. They use genuine parts, and the repair comes with a warranty. For screen damage, they typically replace the entire display assembly, which includes the glass, digitizer, and LCD as one unit.
This ensures perfect color matching, touch sensitivity, and True Tone functionality if your model supports it. The main drawback is cost. It is often the most expensive option. Also, accidental damage is not covered by the standard Apple warranty.
AppleCare+ changes the math completely. If you have this coverage, a cracked iPad screen repair costs only a service fee, which is far lower than the out-of-warranty price. Always check your coverage first.
Third-Party Repair Shop
A local repair shop can be a middle ground. Prices are usually lower than Apple’s, and turnaround can be faster. The quality, however, depends entirely on the shop. The cheapest repair shop might use lower-grade parts to keep costs down.
A reputable specialist will be transparent about the parts they use. They might offer a choice between a budget screen and a higher-quality one. Always ask about the warranty on both the part and the labor. Read reviews carefully.
Be aware that using a third-party screen, especially on newer models, can affect features like automatic brightness and may void any remaining Apple warranty on the device.
DIY Screen Replacement
Fixing it yourself is the most hands-on and potentially cost-effective route, but it carries the most risk. You buy a replacement screen and a repair kit, then follow a guide. This path requires patience, good fine-motor skills, and a tolerance for risk.
You will need specific tools. A basic repair kit might include plastic picks and a screwdriver, but many iPad models require a heat gun or iOpener to soften the adhesive holding the screen in. Some newer models are exceptionally difficult, needing a specific machine to remove the screen without breaking it.
The biggest variable in DIY repair is the part you buy. This is where most guides fall short, so it’s worth a deep dive.
The Truth About Replacement Screen Quality
Not all replacement screens are equal. The market has a wide quality spectrum, and your experience hinges on this choice.
On the low end, you find the same cheap $20-40 screens from generic sellers. These parts are mass-produced with lower-grade materials. The consequences are real. You might get a screen with poor color accuracy, visible grids, or a blueish tint.
The glass is often less durable and more prone to scratches. The adhesive might release toxic fumes when heated during installation. Worst of all, poor sealing can lead to dust getting inside or, in extreme cases, can put pressure on the battery.
Better grade screens cost more but use higher-quality glass and LCD panels. They aim to match the original iPad screen in brightness and color. Some are refurbished original Apple parts. The difference is in the details: no slight smudges under the glass, proper touch response, and a fit that doesn’t leave gaps.
Choosing a cheap Amazon kit for a complex repair can turn a working iPad with a broken screen into a dead tablet if something goes wrong. For a simple iPad 5th Gen, a mid-grade screen might be fine. For a recent iPad Pro, investing in the best available part is critical.
Choosing How to Fix Your iPad Screen
This is the most important step. The right choice saves you money and frustration. Your decision should be guided by two main factors: your iPad’s model and its current market value.
Think of it as an investment. Spending $250 to fix a device worth $300 is usually not wise. The logic changes completely for a $900 iPad Pro.
For Older iPad Models
Let’s take an iPad 6th Generation or an older model as an example. These devices have lower residual value. A professional repair from Apple may cost nearly as much as the iPad is worth. This makes DIY repair more attractive from a pure cost perspective.
However, you must be honest about your skill level. If you’re not technically inclined, even simple things can go wrong. For these older iPads, a third-party repair with a decent part is often the most practical balance of cost and reliability.
Sometimes, the smartest financial move is not to repair it at all. You could sell the broken iPad for parts and use that money toward a new one. Trading in an iPad with a cracked screen to Apple or a retailer also gives you credit, though the value will be reduced.
For Newer or iPad Pro Models
Newer standard iPads and all iPad Pro models are more complex and valuable. The screens are often laminated, meaning the glass, digitizer, and LCD are fused. Replacing just the glass is nearly impossible without a specific machine.
The risk of causing further damage during a DIY attempt is high. You could easily damage the delicate connectors or the battery. The value proposition strongly favors professional service. Protecting your investment in a premium device is worth the higher repair cost.
For these models, Apple service or a highly reputable specialist is the recommended path. The use of genuine or high-quality parts preserves the display quality and device integrity.
Your Personal Decision Checklist
To pull it all together, ask yourself these questions:
- What is my iPad’s exact model and generation?
- What is a fair market value for it in good condition?
- Is the touch functionality broken, or is it just the glass?
- What is my total budget for this fix?
- On a scale of 1 to 10, how confident am I in doing precise technical work?
- How urgently do I need a working iPad?
Your answers will point you to the right column in the decision guide below.
| Your Situation | Recommended Path | Key Reason |
|---|---|---|
| Older iPad (e.g., 5th-7th Gen), minor crack, you are handy. | DIY with a better-grade screen. | Repair cost is low relative to device value. Risk is manageable. |
| Older iPad, significant damage, you are not technical. | Third-party shop or consider replacement. | DIY risk is too high. Professional repair keeps it economical. |
| Newer iPad or iPad Pro, any screen damage. | Apple Service or top-tier repair shop. | Protects high device value. Ensures quality and retains features. |
| Any iPad with AppleCare+ coverage. | Apple Service. | Dramatically lower cost with guaranteed quality. |
| Very old iPad, repair cost > device value. | Sell for parts/trade in. | Most economical outcome. Put funds toward an upgrade. |
How to Fix an iPad Screen Yourself
If you’ve decided the DIY path is right for your older iPad, careful preparation is everything. Rushing leads to mistakes.
Mandatory Pre-Repair Steps
First, back up your iPad to iCloud or a computer. This is non-negotiable. Power the device down completely. Gather all your tools and parts in a clean, well-lit workspace. A large, clear table is ideal.
You will need your replacement screen, a quality repair kit for your specific iPad model, and a reliable guide. The iFixit Guide for your model number is the best resource. Watch the entire video or read the manual before you touch anything.
The General Repair Process
Every model is different, but most repairs follow a similar high-level flow. You will use heat to soften the adhesive around the screen’s edges. Then, you’ll use thin tools to carefully pry the screen up from the frame.
Once inside, you must disconnect several fragile cables that connect the screen to the iPad’s logic board. This is the most delicate stage. After removing the old screen, you reverse the process with the new one, ensuring all connectors are snapped in firmly.
Finally, you apply new adhesive tape and press the screen into place. The process requires patience. Expect it to take 1-2 hours for your first time.
Critical Tips for Success
Go slow. Applying too much force is the cause of most failures. Keep track of every screw; they are often different lengths. When prying, insert your tool only a few millimeters to avoid puncturing the battery or cutting into cables.
Handle the old broken screen with care. A shattered iPad digitizer can have sharp edges, and a cracked LCD could leak toxic LCD liquid. Wear safety glasses if the damage is severe.
After reassembly, test the new screen thoroughly before sealing everything up. Check touch response across the entire surface and look for any display abnormalities.
Getting Your iPad Screen Fixed Professionally
Choosing a professional service means you are paying for expertise and convenience. A little preparation on your part ensures a smooth experience.
Preparing for the Repair Shop
Again, back up your iPad. Sign out of iCloud and Find My iPad if the shop requests it, as this is often required for security. Write down your device’s passcode to provide to the technician.
Remove any case or screen protector. If possible, note your iPad’s model number and serial number, which you can find in Settings or on the original box.
Questions to Ask the Repair Shop
Don’t just ask for the price. Ask what grade of part they will use. Is it an original Apple screen, a high-quality aftermarket, or a budget part? Get a clear warranty statement covering both the part and the labor. Ask for an estimated timeframe.
For mail-in repairs with Apple, you can initiate the process on their website. They will send you a box or guide you to a drop-off location. Make sure your backup is complete before you send it away.
Frequently Asked Questions
Can a cracked iPad screen be fixed if the touch still works?
Yes, if the touch works, it usually means only the top glass layer is cracked, not the digitizer beneath it. This can be repaired, but for most models, the entire display assembly (glass, digitizer, and LCD) is replaced as one unit by professionals.
Does AppleCare+ cover a cracked iPad screen?
Yes, AppleCare+ includes coverage for accidental damage, like a cracked screen. You will pay a much lower service fee instead of the full out-of-warranty repair cost.
What tools are absolutely necessary for a DIY iPad screen fix?
At a minimum, you need a precision screwdriver set, plastic opening picks, a spudger, and adhesive strips. Most models also require a heat source like a heat gun or iOpener to loosen the screen adhesive safely.
How long does a professional iPad screen repair usually take?
At an Apple Store or authorized provider, many iPad screen repairs can be done in a few hours, often while you wait. Mail-in repairs or third-party shops may take 1-3 business days.
Will a third-party screen repair void my remaining Apple warranty?
Yes, any unauthorized modification, including a third-party screen repair, can void the remaining Apple warranty on your device. If your iPad is still under warranty, use Apple service.
What should I do immediately after cracking my iPad screen?
First, if glass is loose, apply clear packing tape over the cracks to prevent cuts and keep pieces from falling out. Then, back up your data immediately in case the damage worsens. Finally, power it down to prevent any potential short circuits from screen liquid.
Is it worth fixing an iPad screen with lines on it but no cracks?
Lines on the display indicate LCD damage, which is a serious internal issue. The repair cost is the same as for a cracked screen. Whether it’s worth it depends on the iPad’s model and value, following the same decision guide.
Can I trade in an iPad with a cracked screen?
Yes, Apple and most retailers will accept a trade-in with a cracked screen, but the value will be significantly reduced compared to a device in good condition.
How do I back up my iPad before getting the screen fixed?
If the screen still works, back up to iCloud via Settings or to a computer using iTunes or Finder. If the screen is unresponsive but the iPad turns on, you can back up to a computer by trusting it when prompted, if you’ve connected it before.
Why is fixing an iPad Pro screen more expensive than a standard iPad?
iPad Pro screens use more advanced technology like ProMotion, wider color gamuts, and are often laminated. The parts are more expensive, and the repair process is more complex and risky, requiring specialized tools and skills.
Final Thoughts on iPad Screen Repair
Figuring out how to fix an iPad screen is less about finding a single set of instructions and more about making a strategic choice. The correct path for a common iPad 6th generation is completely different from the best move for a latest-generation iPad Pro.
By first diagnosing the damage, then honestly assessing your iPad’s value and your own skills, you can choose a repair method that makes financial and practical sense. Remember that the goal is to end up with a working device you’re happy with, whether that’s through a careful DIY project, a trusted professional, or by moving on to a new tablet altogether.
Sometimes, the most effective fix is to use a broken device as credit, turning a moment of frustration into an opportunity for an upgrade.