
To edit grainy photos on iPhone, utilize editing tools in photo editing apps like Snapseed or Lightroom. Adjust exposure, sharpness, and noise reduction settings for a clearer image.
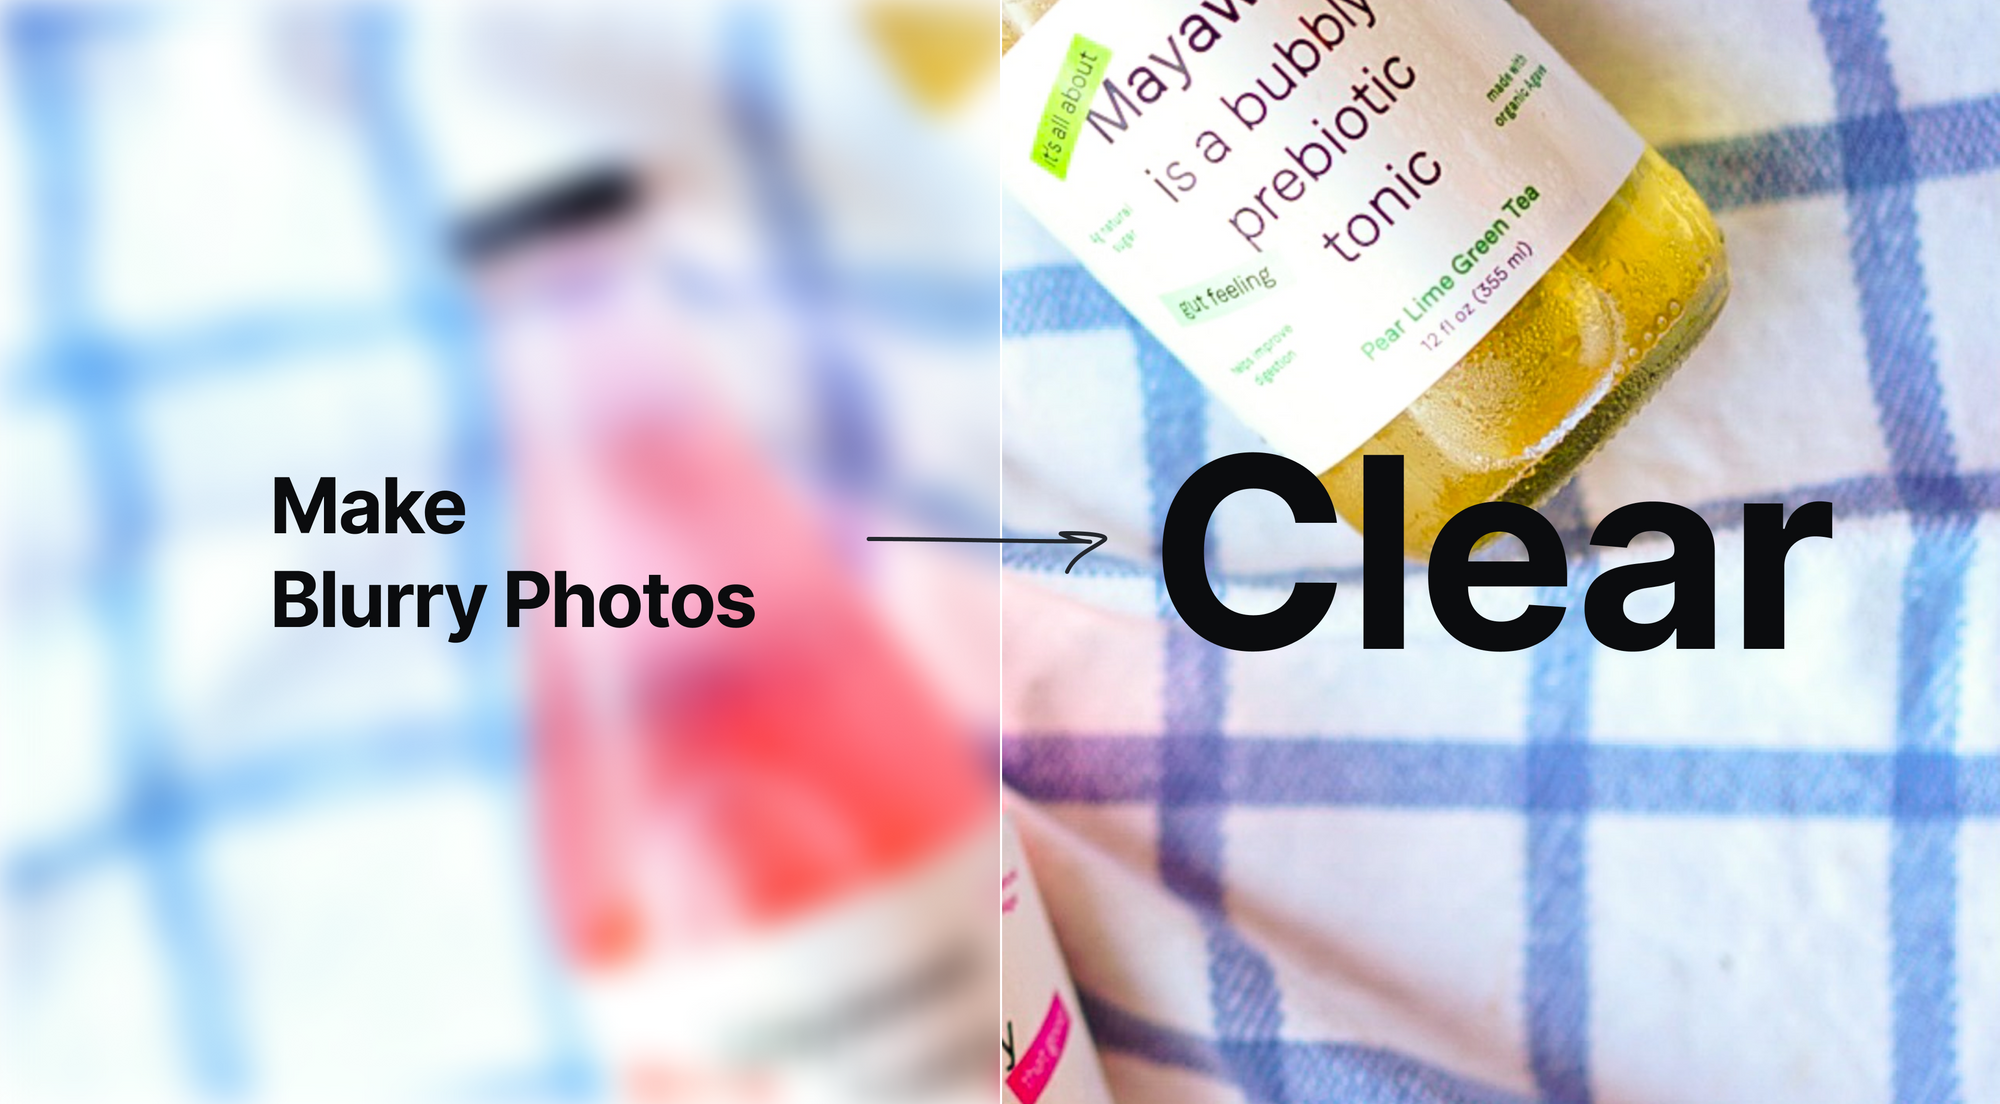
Capturing moments with your iPhone is convenient, but sometimes photos may turn out grainy due to low light or high ISO settings. Fear not, as editing grainy photos on your iPhone is a breeze with the right tools and techniques.
By making simple adjustments to exposure, sharpness, and noise reduction, you can transform your grainy photos into sharp and vibrant images that capture the moment beautifully. In this guide, we will explore how to edit grainy photos on your iPhone effectively using popular photo editing apps like Snapseed and Lightroom. Let’s dive in and enhance your photography skills!

Credit: digital-photography-school.com
Understanding Grainy Photos
Understanding Grainy Photos:
What Are Grainy Photos?
Grainy photos are images that appear rough or noisy, typically due to excessive digital noise.
Causes Of Grainy Photos
- Low light conditions
- High ISO settings
- Low-quality camera sensors
Credit: letsenhance.io
Common Editing Techniques
Editing grainy photos on your iPhone can be a breeze with the right techniques. Below, we explore some common editing methods to enhance the quality of your images.
Adjusting Exposure
Adjust the exposure to fix brightness issues and improve overall clarity of the photo.
Reducing Noise
Reduce noise to smooth out graininess and enhance the overall sharpness of the image.
Increasing Sharpness
Increase sharpness to make details clearer and bring out important elements in the photo.
Key Tips: – Adjust exposure for proper lighting. – Reduce noise for smoother textures. – Increase sharpness for detailed images. “`Using Iphone Editing Tools
When it comes to editing grainy photos on your iPhone, the built-in editing tools in the Photos app can be a game-changer. With just a few taps, you can transform your grainy and dull photos into vibrant and sharp images that you can proudly share with the world.
Exploring The Photos App
The Photos app on your iPhone provides a range of editing options to help you enhance your photos. To get started, open the Photos app and select the image you want to edit. Tap on the ‘Edit’ button located at the top right corner of the screen.
Using The Edit Tool
Once inside the editing mode, you’ll see a variety of editing tools at the bottom of the screen. The ‘Edit’ tool is your go-to option to make adjustments to your grainy photo. Tap on the ‘Edit’ icon to unlock a plethora of editing options.
Adjusting Brightness And Contrast
One of the key factors in reducing grainy appearance in photos is getting the right balance of brightness and contrast. To adjust these settings, tap on the ‘Brightness’ and ‘Contrast’ sliders and move them left or right until you achieve the desired level. Experimenting with different settings can significantly improve the overall quality of your photo.
Applying Noise Reduction Filter
To further reduce the grainy effect, you can apply a noise reduction filter. This filter helps to smooth out any noise or pixelation in your photo, resulting in a cleaner and more professional-looking image. Simply tap on the ‘Noise Reduction’ option and use the slider to adjust the intensity of the filter.
Enhancing Details And Sharpness
To bring out the finer details and make your photo appear sharper, the ‘Details’ and ‘Sharpen’ tools come in handy. These tools allow you to enhance the edges and textures in your photo, making it visually appealing. Experiment with the sliders to find the sweet spot for your photo.
By utilizing the powerful editing tools available in the Photos app on your iPhone, you can easily edit grainy photos to give them a professional touch. With just a few simple adjustments, you can transform your iPhone photography game and capture stunning images that stand out from the crowd.

Credit: blog.hubspot.com
Third-party Editing Apps
When it comes to editing grainy photos on your iPhone, third-party editing apps offer advanced features and tools to enhance the quality of your images. These apps can help reduce noise, improve clarity, and adjust the overall appearance of your photos, providing a simple and effective solution for dealing with grainy images.
Introducing Popular Editing Apps
If you’re looking to improve the quality of your grainy photos, there are several popular third-party editing apps available for iPhone users. These apps provide a range of features and editing tools that can help bring out the best in your images, offering a convenient way to enhance and refine your photography.
Comparing Different Features
When comparing the features of different third-party editing apps, it’s important to consider factors such as noise reduction capabilities, sharpening tools, and overall user-friendliness. Each app may offer a unique set of features that appeal to different editing preferences, so understanding the distinct advantages of each app is essential in making an informed choice.
Step-by-step Editing Process With Selected Apps
Let’s explore the step-by-step editing process using selected popular apps for improving grainy photos on your iPhone. We will highlight the unique features and capabilities of each app, providing a comprehensive guide to achieving impressive results through the use of third-party editing tools.
Additional Tips And Tricks
While editing grainy photos on an iPhone can significantly improve their quality, there are additional tips and tricks that can be utilized to enhance the overall process. By employing the following techniques, photographers can optimize their iPhone photography experience to achieve the desired results.
Shooting Techniques To Reduce Grain
When capturing photos on your iPhone, consider employing shooting techniques that reduce grain. Stabilize your hands to minimize camera shake, and use the burst mode when capturing moving subjects to enhance image clarity and reduce noise.
Utilizing Natural Lighting
Maximize the use of natural lighting when taking photos. Position your subjects near windows or outdoors to benefit from ample natural light. Avoid relying solely on artificial lighting, as it can contribute to grainy images.
Avoiding High Iso Settings
Avoid setting the ISO too high, as this can result in grainy photos. Opt for lower ISO settings and adjust other exposure settings to compensate for the reduced sensitivity, thus reducing noise in the final image.
Using External Accessories For Better Quality
Consider utilizing external accessories such as tripods and lenses specifically designed for iPhones. These accessories can aid in stabilizing the device and delivering higher image quality, consequently reducing the presence of grain in photos.
Optimizing Image Size Without Losing Quality
To optimize image size without compromising quality, leverage image compression techniques and utilize file format conversion methods. By employing these measures, you can reduce the size of your photos while preserving image quality.
Frequently Asked Questions For How To Edit Grainy Photos Iphone
How Do You Make A Grainy Picture Clear On Iphone?
To make a grainy picture clear on your iPhone, use the built-in editing tools. Open the photo, tap “Edit,” then choose “Adjust. ” Increase the “Definition” or “Sharpen” sliders to enhance the image clarity. Avoid excessive adjustments to avoid introducing noise or artifacts.
Save the edited photo when satisfied.
How Do You Edit Grainy Photos?
To edit grainy photos, use tools like noise reduction filters or adjustment layers in editing software. Adjusting brightness, contrast, and sharpness can improve clarity. Experiment with different settings to find the best result. Avoid overediting to prevent further loss of quality.
How Do I Lower The Quality Of A Photo On My Iphone?
To lower the quality of a photo on your iPhone, open the photo, tap Edit, then tap the three lines icon. Choose the “Resize” option and adjust the dimensions to reduce quality.
How Do I Make My Iphone Pictures Less Sharp?
To make your iPhone pictures less sharp, adjust the sharpness settings in the camera app. Open the camera app, tap on the Settings icon, go to the “Camera” option, and decrease the sharpness level. This will result in a softer, less sharp image.
Conclusion
These simple yet effective editing techniques can greatly enhance your grainy iPhone photos. By adjusting brightness, reducing noise, and using photo editing apps, you can transform your images into stunning visual masterpieces. Remember to experiment with different editing options to find what works best for each photo.
With these tips, you’ll be able to capture and edit grain-free images with your iPhone, making every snapshot a work of art.