
To compress a PDF on iPhone, you can use a third-party app such as PDFelement or Adobe Acrobat Reader. These apps allow you to reduce the file size of your PDF documents without compromising the quality of the content.
Compressing a PDF file on an iPhone is a simple process that can help you save storage space and make it easier to share or upload the file. Whether you need to compress a PDF for email attachments or to free up space on your device, there are several apps available that can help you achieve this task.
We will discuss how to compress a PDF on an iPhone using popular third-party apps like PDFelement and Adobe Acrobat Reader. By following these steps, you can reduce the file size of your PDF without affecting the quality of its content, making it more convenient to handle and share.
Preparing To Compress
Before you compress a PDF on your iPhone, it’s essential to prepare and organize your documents to ensure a seamless compression process. Follow these steps to get started:
Choosing The Right App
- Search for PDF compression apps in the App Store to find the one that suits your needs.
- Read reviews and ratings to gauge the app’s performance and user satisfaction.
Reviewing The Pdf
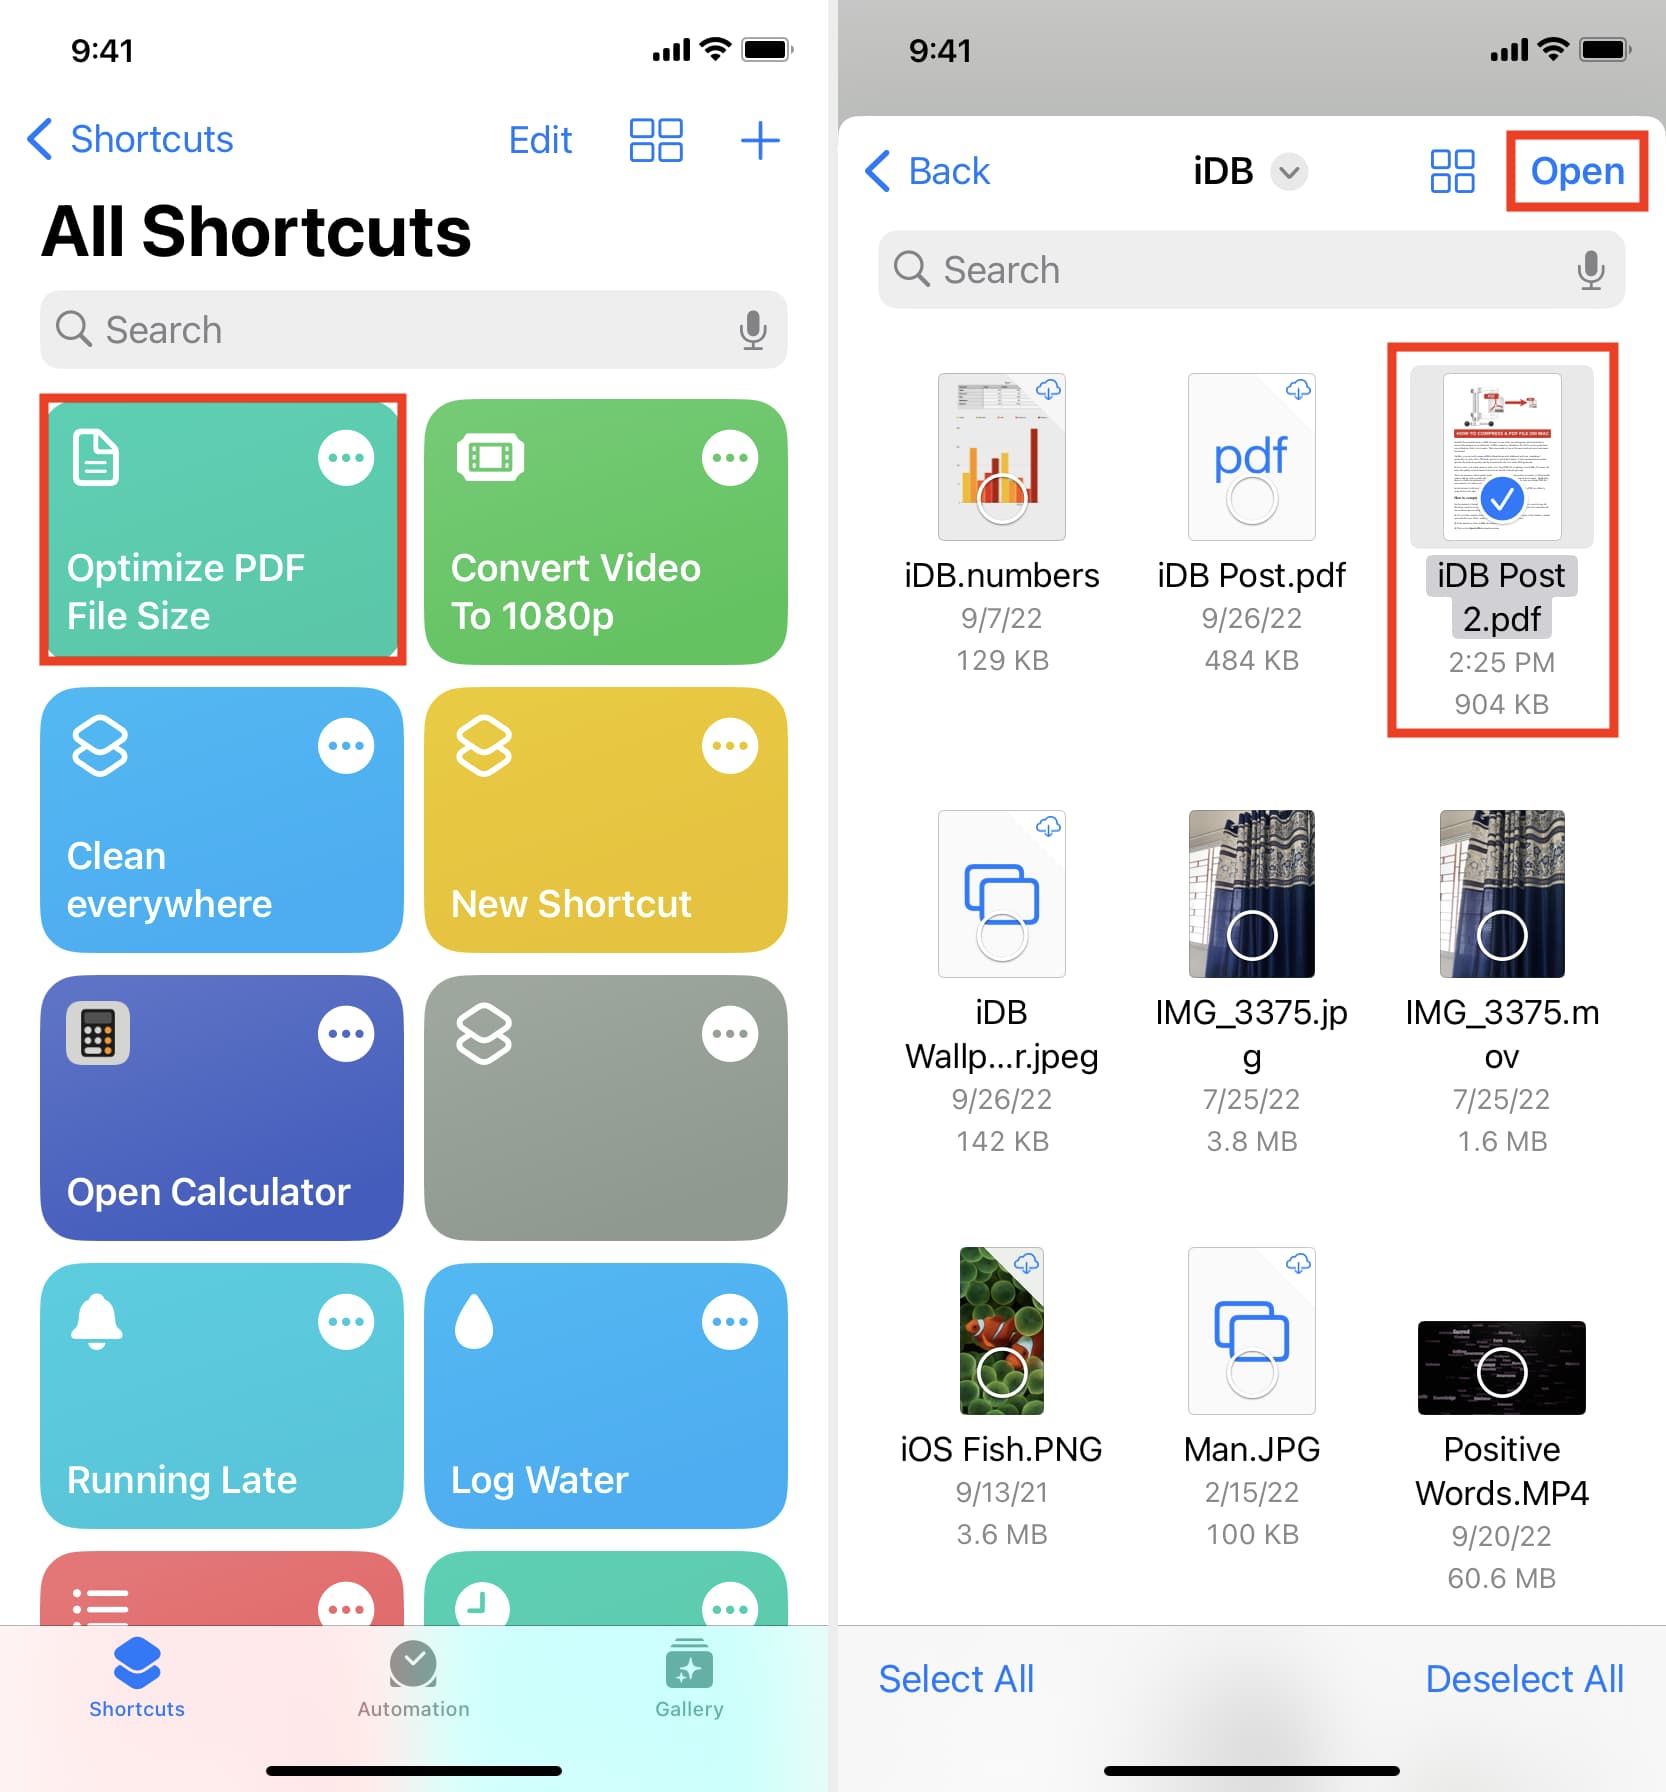
- Open the PDF file you wish to compress on your iPhone.
- Check the content to ensure each page is necessary and free of errors.
By carefully reviewing the PDF file before compression, you can eliminate any unnecessary content and optimize the compression process.
Credit: www.idownloadblog.com
Using The Compression App
If you have a large PDF file on your iPhone that you need to send or share, you may encounter issues due to the file size. Luckily, there are compression apps available that can help you reduce the size of your PDF while maintaining its quality. In this article, we will guide you through the process of compressing a PDF on your iPhone using a compression app. The app we will be using is easy to navigate and does not compromise the quality of your PDF file.
Opening The Pdf In The App
The first step in compressing your PDF on your iPhone is to open the file in the compression app. Once you have downloaded and installed the compression app from the App Store, follow these simple steps:
- Launch the compression app on your iPhone.
- Allow the app to access your files and photos.
- Locate the PDF file you want to compress and tap on it to open it within the app.
By following these steps, you will have successfully opened your PDF file in the compression app.
Selecting Compression Settings
After you have opened the PDF file in the compression app, the next step is to select the compression settings that best suit your needs. The compression app offers various options, allowing you to strike a balance between file size reduction and image quality. Here’s how to select the compression settings:
- Look for the “Settings” or “Compression Settings” button within the app.
- Tap on it to access the compression settings.
- Adjust the settings according to your preferences. You may have options like “Quality Level” or “Compression Ratio” to modify.
- Preview the compressed file with the selected settings to ensure it meets your requirements.
Make sure to experiment with different compression settings to find the best compromise between file size and image quality. Once you are satisfied with the compression settings, you can proceed to save the compressed PDF file on your iPhone.
Using a compression app on your iPhone allows you to effectively reduce the size of your PDF files without compromising the quality. Opening the PDF in the app and selecting the compression settings are quick and simple steps that anyone can follow. With this knowledge, you will be able to compress your PDF files on your iPhone effortlessly.
Compressing The Pdf
Do you often find yourself struggling with large PDF files taking up valuable storage space on your iPhone? Luckily, there is a simple solution – compressing the PDF. By compressing your PDF, you can significantly reduce its file size without compromising its quality. This not only saves storage space but also allows for faster sharing and uploading. In this article, we will guide you through the process of compressing a PDF on your iPhone, step by step.
To begin compressing your PDF on iPhone, follow these simple steps:
- Open the PDF file you want to compress on your iPhone.
- Tap on the share icon located at the bottom center of the screen.
- A list of options will appear. Scroll through and select the “Compress PDF” option.
- A progress bar will appear, indicating the compression process. The time it takes depends on the size of the PDF.
- Once the compression is complete, a pop-up message will appear confirming the successful compression of the PDF.
After compressing your PDF, the next step is to save the compressed file. Here’s how:
- Tap on the “Save File” option at the bottom of the screen.
- Choose a location to save your compressed PDF. You can select local storage or various cloud storage services like iCloud or Google Drive.
- Specify the name of the compressed PDF file.
- Tap the “Save” button located at the top right corner of the screen.
- Wait for the file to finish saving.
Now you have successfully compressed and saved your PDF file on your iPhone. You can now enjoy the benefits of a smaller file size without sacrificing quality.

Credit: pdfexpert.com
Sharing The Compressed Pdf
When it’s time to share your newly compressed PDF on your iPhone, you have various options available to effortlessly send it to others. Let’s explore how you can share the compressed PDF and ensure that the compression was successful.
Options For Sharing
- Send the compressed PDF as an email attachment.
- Share it through messaging apps like iMessage or WhatsApp.
- Upload the PDF to a cloud storage service for easy access.
Verification Of Compression
To ensure that your PDF has been successfully compressed, verify the file size before and after compression. Additionally, check the image quality and text readability to confirm that no crucial information was lost during the compression process.
Tips For Optimizing Compression
Looking to compress a PDF on your iPhone? Follow these tips for optimizing compression: Use a reputable PDF compression app, select the appropriate compression level, and consider removing non-essential elements like images to reduce file size. This can make it easier to share and manage documents on your iPhone.
Understanding Compression Formats
When dealing with PDF compression on iPhone, understanding the various compression formats is crucial. Different compression techniques may yield varying results, so it’s important to familiarize yourself with the options available.
Hardcopy Vs. Digital Considerations
When it comes to optimizing PDF compression for iPhone, it’s important to consider whether the document started as a hardcopy or digital file. Hardcopy documents may require additional processing to achieve optimal compression results, while digital files may be easier to manipulate for compression purposes.
Compressing PDF files on your iPhone can be a helpful way to manage file size and storage. However, it’s essential to utilize the right compression techniques to ensure the best results. Here are some tips for optimizing compression on your iPhone:
1. Choose The Right Compression Format
Select the most appropriate compression format based on your specific needs and the nature of the document. Different formats offer varying levels of compression and quality, so it’s essential to make an informed decision.
2. Use Online Tools Or Apps
Leverage online tools or apps specifically designed for PDF compression. These tools often offer advanced compression options and can help streamline the process.
3. Consider Image Resolution
Be mindful of the image resolution within the PDF document. Optimizing image resolution can significantly impact the final file size without compromising visual quality.
4. Remove Unnecessary Elements
Review the PDF and remove any unnecessary elements such as excessive images, redundant text, or large embedded files. Streamlining the content can contribute to more efficient compression.
5. Test Different Compression Levels
Experiment with different compression levels to find the right balance between file size and quality. Adjusting compression settings can help achieve the desired results for your specific requirements.
By implementing these tips and understanding the nuances of compression formats and considerations, you can effectively optimize PDF compression on your iPhone, ensuring efficient file management and improved storage capabilities.

Credit: pdf.wondershare.com
Frequently Asked Questions Of How To Compress A Pdf On Iphone?
How Do I Make A Pdf Smaller On My Iphone?
To reduce a PDF’s size on your iPhone, open the PDF in a file manager app. Click the share icon, select “Compress,” and adjust the quality to reduce the file size.
How Do I Compress A Pdf File On My Phone?
To compress a PDF file on your phone, you can use a reliable PDF compression app from your device’s app store. Simply search for “PDF compression” in the app store, download and install a suitable app, open it, select the PDF file you want to compress, choose the compression settings, and wait for the app to compress the file.
How Do I Make A Pdf File Smaller In Size?
To make a PDF file smaller in size, you can use compression tools available online or in PDF editing software. These tools compress the images and remove unnecessary elements to reduce the file size without compromising the quality.
How Do I Compress Files On My Iphone?
To compress files on your iPhone, use a file compression app from the App Store. Select the files you want to compress, then choose the compression level. Save the compressed files to your device or share them via email or cloud storage.
Conclusion
Compressing PDFs on your iPhone can boost efficiency and save storage space. Try out the various apps mentioned in this guide to streamline your document management process. Opt for user-friendly tools to ensure a hassle-free experience when reducing the size of your PDF files on-the-go.